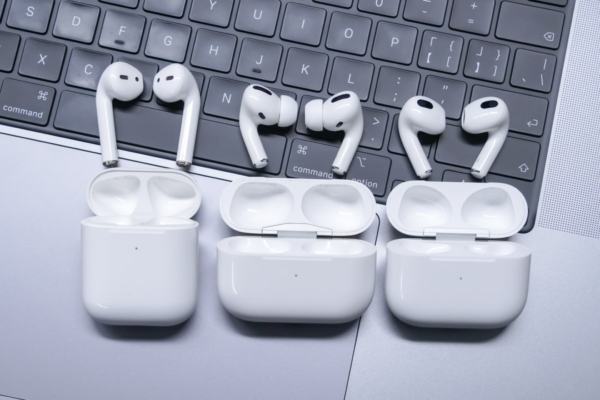
The first generation of AirPods was officially launched in December 2016. It has been five years since it was launched in 2021. Many users report that the battery of the earphone is seriously aging, which leads to a shorter battery life of the earphone, which cannot support daily use or the battery life of the left and right earphones. Time asymmetry, etc.
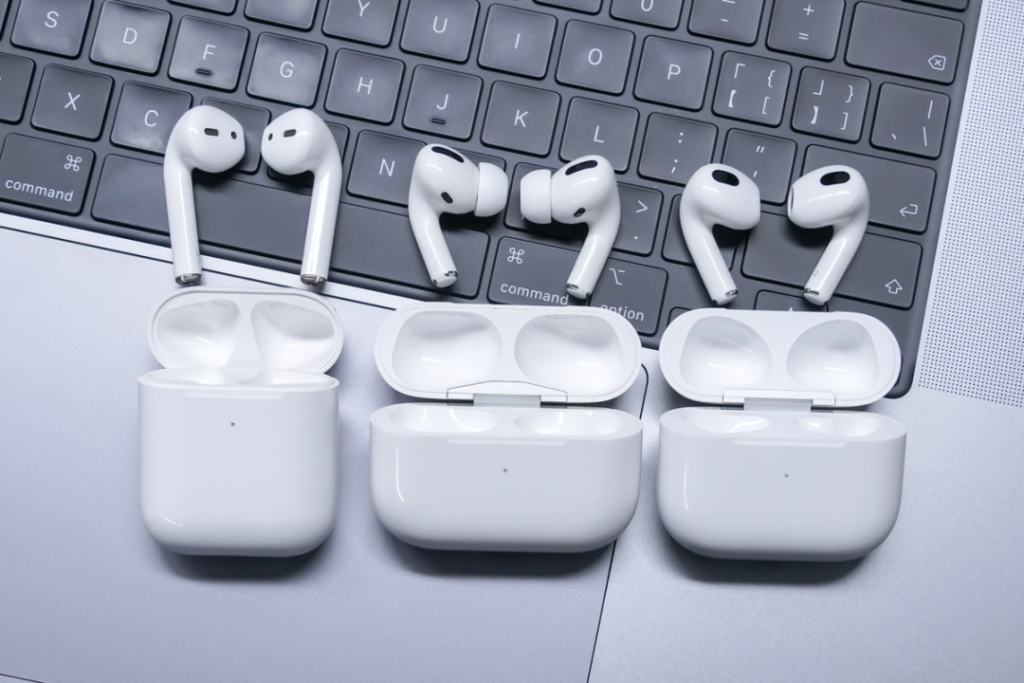
According to Apple’s official page, the first-generation AirPods earphones can be used with the charging box, the listening time can be more than 24 hours, and the talk time can be up to 11 hours. AirPods (single charge): Up to 5 hours of listening time and up to 2 hours of talk time. Apple headphones have a huge market share in the world, and the AirPods market share in the Chinese market has reached as much as 40%.
As early as 2020, a report pointed out that the daily listening time of Chinese netizens is as follows: Most users listen to songs for less than 2 hours, of which users who listen to songs for 1 minute to 1 hour account for 35.9%, 36.4% of users listen to songs for 1-2 hours. Fewer users listen to songs for more than 3 hours, accounting for only 2.7%
The duration of listening to songs is calculated based on an average of 1.5 hours per day. The total duration of listening to songs by a user will reach 547.5 hours per year, which is 109.5 cycles of charging times. It has been 5 years since the first generation of AirPods was released. , that is, a pair of first-generation AirPods headphones in normal use will cycle discharge and charge up to 547.5 times, and the battery life will drop sharply after the battery is cycled and discharged more than 500 times.
To sum up, the first batch of AirPods users now generally encounter the problem of the aging of the earphone battery, and Apple does not provide a service for battery replacement. maintenance is not possible”.
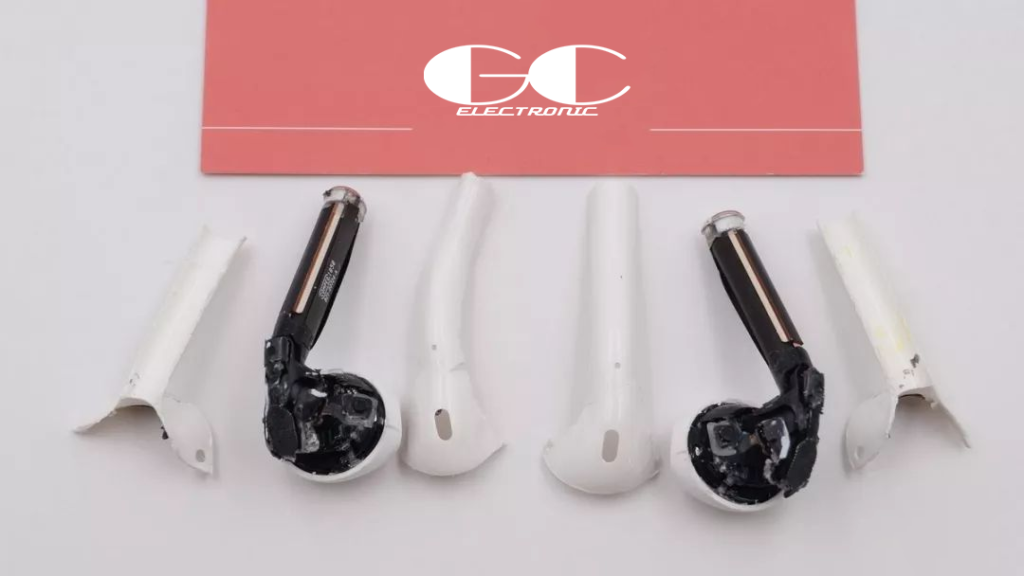
So are AirPods really about to be shelved and quietly ended in the context of aging batteries? I don’t think so. When I disassembled the original Apple AirPods, I thought that this product could be repaired, but the time for repair was not ripe at that time.
Until the first generation of AirPods was released 5 years ago, I often received questions such as “Can AirPods headphones replace the battery?”, I helped my friends find a tutorial on replacing the battery of AirPods headphones.
1
AirPods Headphone Replacement Battery
The replacement of the earphone battery has a total of pre-maintenance inspection, confirmation of the problem, maintenance, engineer self-inspection, OQC product inspection, and other links.
Check before replacing the battery
When receiving the headset that needs to be repaired, the headset will be connected to the computer first, and the product serial number of the headset will be registered through the “hourglass” software, which is used to record the product information of each customer for subsequent issuance. After the engineer gets the headset that needs to be repaired, he will test the related functions of the headset to lock the source of the problem. Next, let’s enter the pre-repair inspection link.
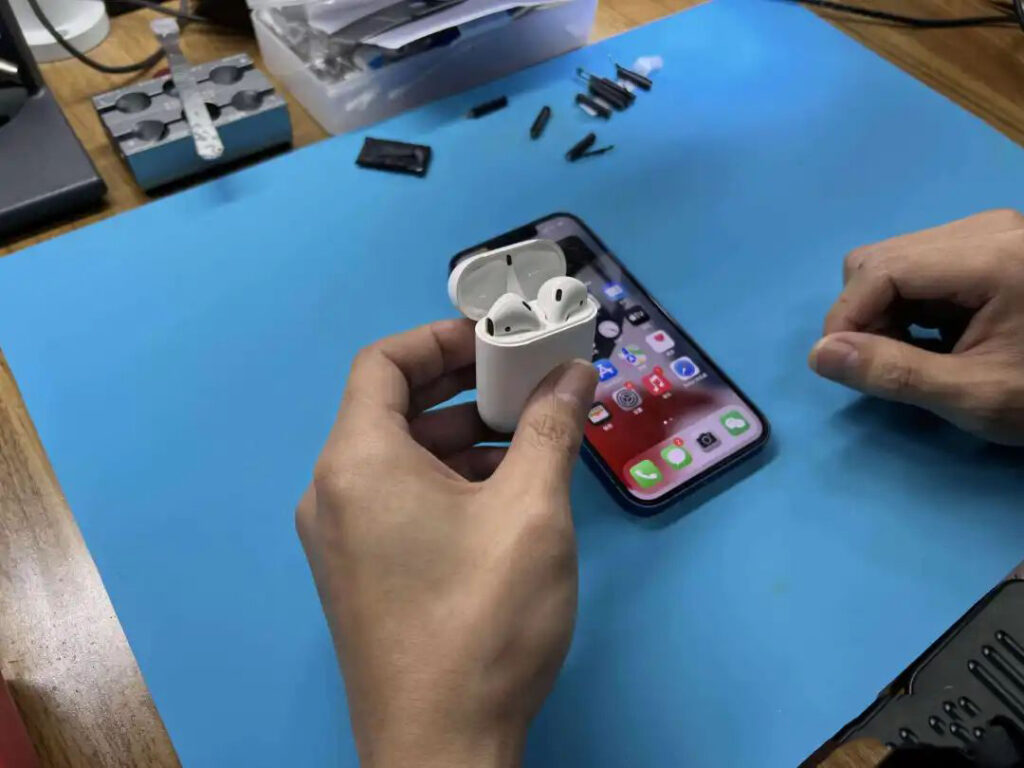
The first is to detect the connection function of the earphone. Open the top cover of the earphone charging box, check whether the product indicator light is flashing and whether there is a connection pop-up window on the mobile phone.

Take out the earphone and check whether the appearance of the earphone is damaged or scratched.

Put on the headset to check the touch, in-ear detection, sound, and other functions of the headset.
Open the mobile phone voice memo software and test the microphone of the headset.

After confirming that the headset needs to be replaced, use high temperature-resistant adhesive tape to stick it on the bottom of the headset handle to prepare for the subsequent operation.
battery replacement

Use a heat gun to aim at the bottom cover at the bottom of the earphone handle for heating, the temperature is 100 degrees, and the heating time is about 8s.

After heating, carefully open the bottom case of the earphone with your fingernails or tweezers. Be careful not to pull the internal cable. Some unscrupulous merchants will directly restore the appearance of the earphone and inform the customer that it cannot be repaired after breaking the earphone cable in this step. We should pay attention.

Next, the headset is clamped to a special resin fixture for the next step.

Clean the glue of the glue on the bottom case of the earphone handle. When cleaning the glue, be careful not to pull the headphone cable. The amount of glue for each earphone is inconsistent. When there is too much glue, it will affect the operation of this step. The Geek Bar entrusts experts to customize the glue It can avoid too much glue and lead to repair failure.

The glue is cleaned up.
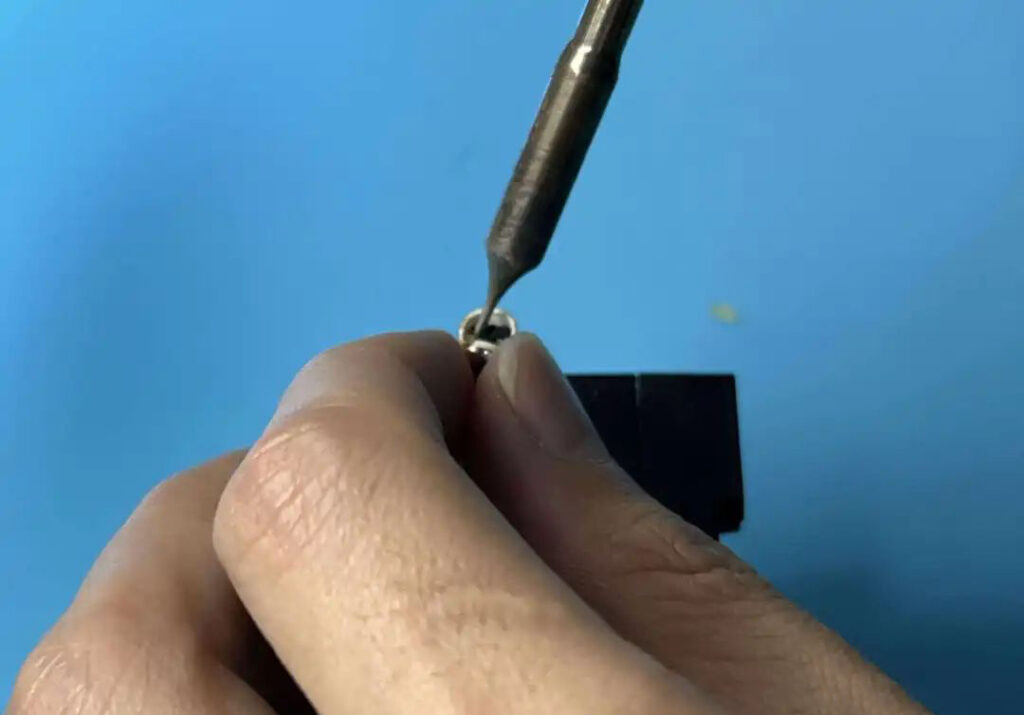
Spot the flux and remove the battery negative with a soldering iron.
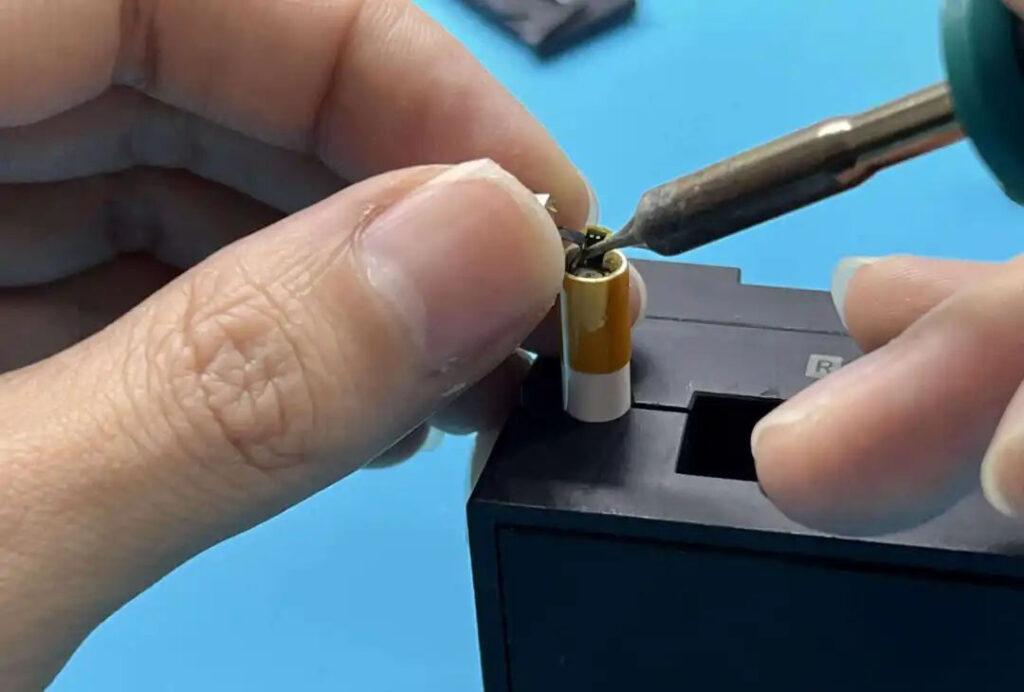
Spot the flux and remove the battery positive with a soldering iron.
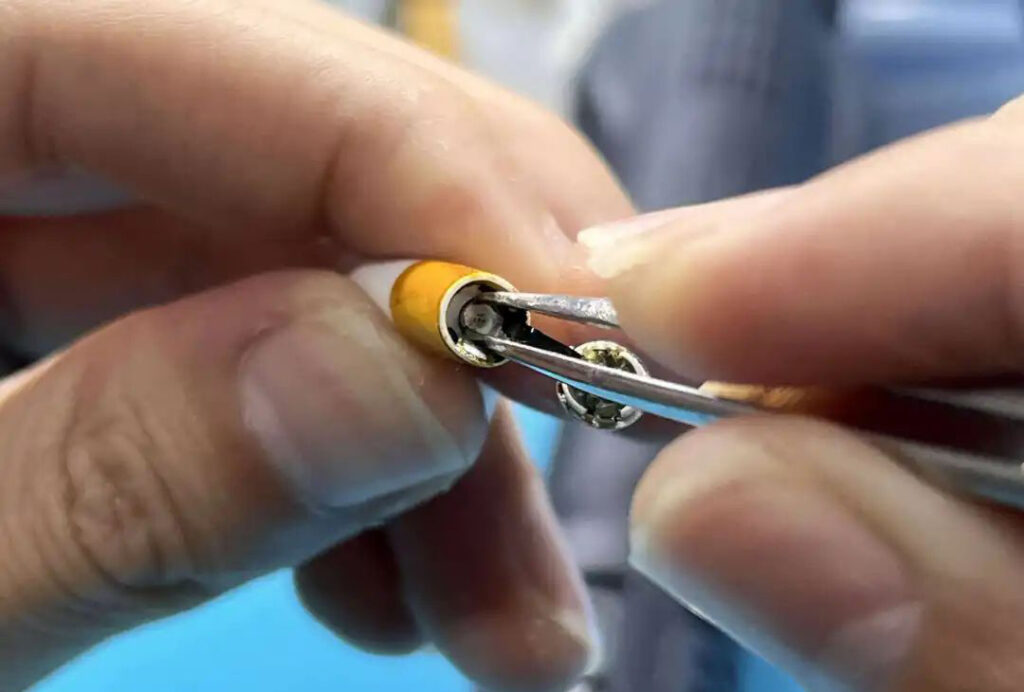
Schematic diagram of the operation of taking out the battery.

List of hot air gun parameters, the temperature is 100 ℃.

Use a hot air gun to heat the earphone handle, soften the inside of the earphone handle, and easily remove the battery of the earphone. The temperature of the heat gun is 100 degrees, and the heating time is about 8s.

When removing the battery, the position of the heat gun blowing heat should change with the position of the battery.

A list of replacement earphone batteries, with a foreskin from the factory.
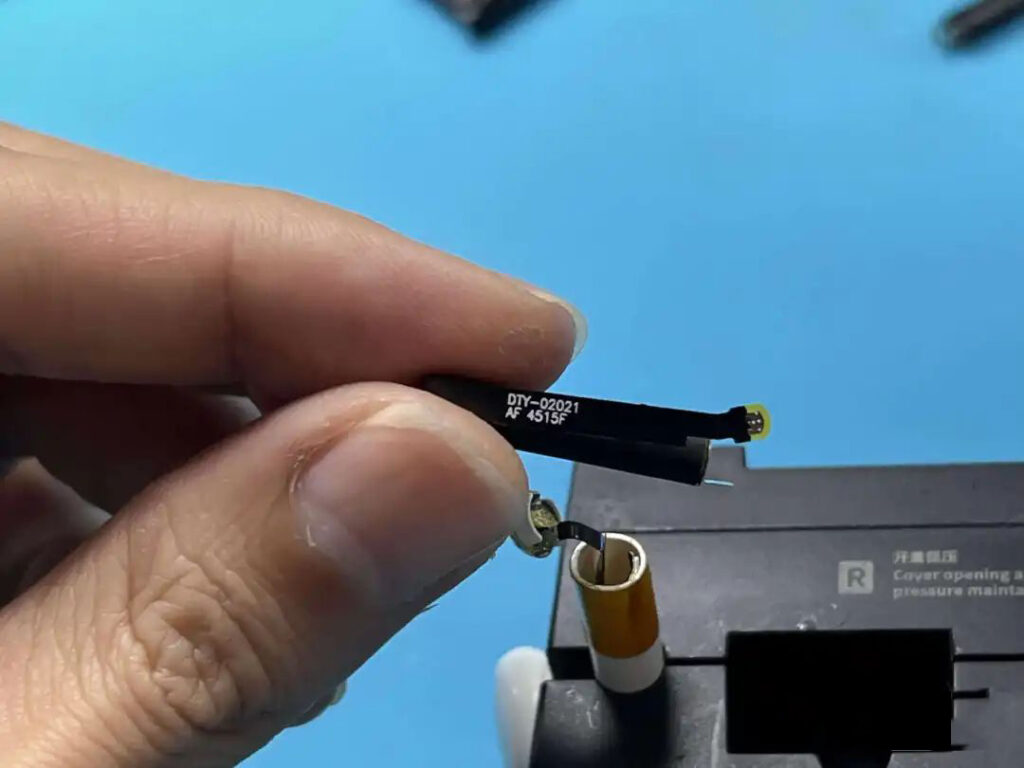
Tin on the battery positive nickel sheet.
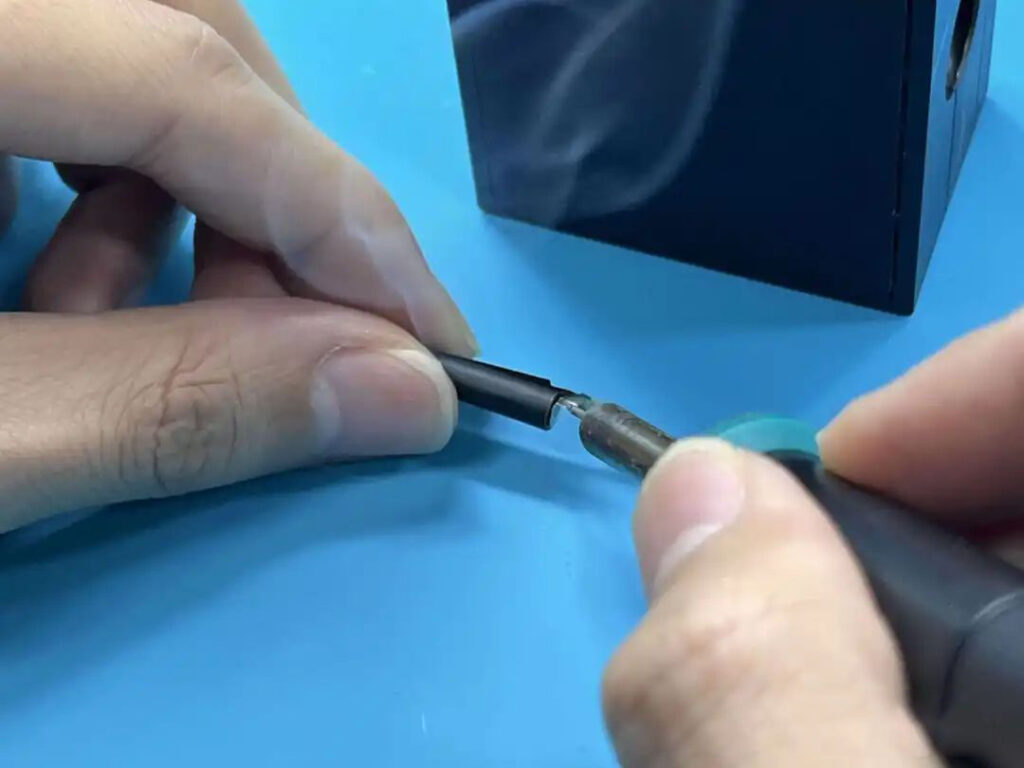
Insert the battery into the stem of the headset.
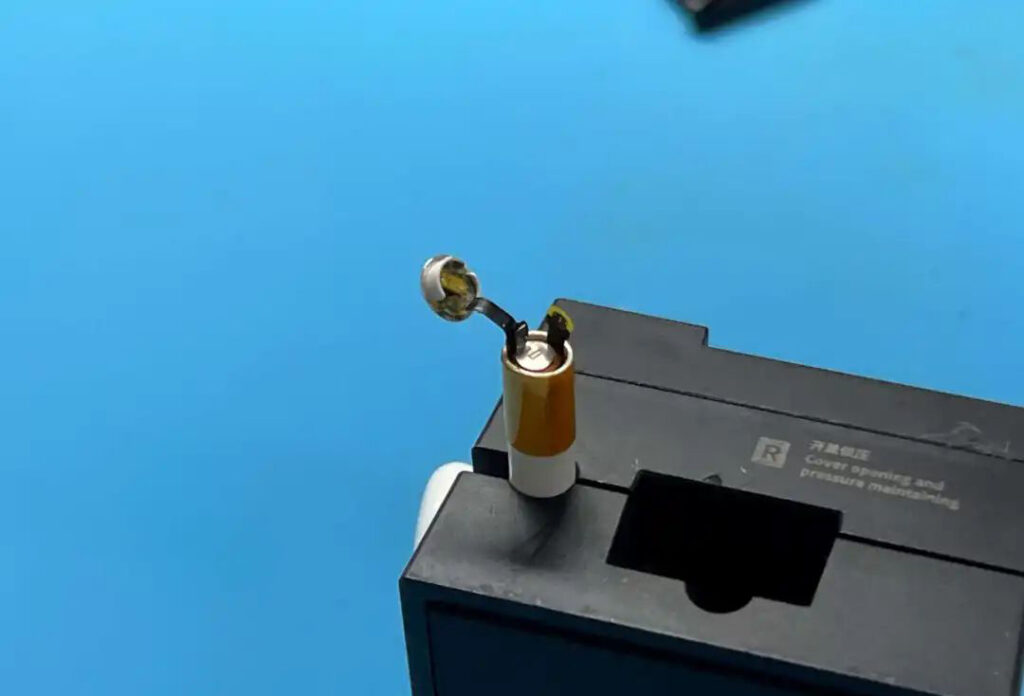
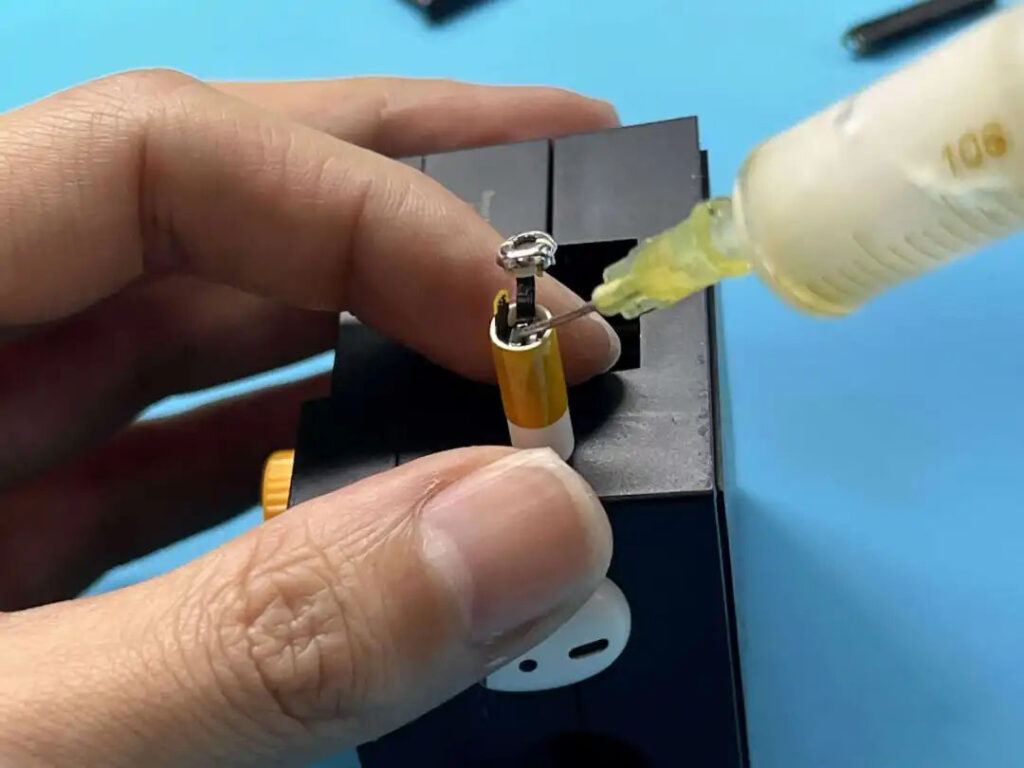
Use a syringe to spot the flux.
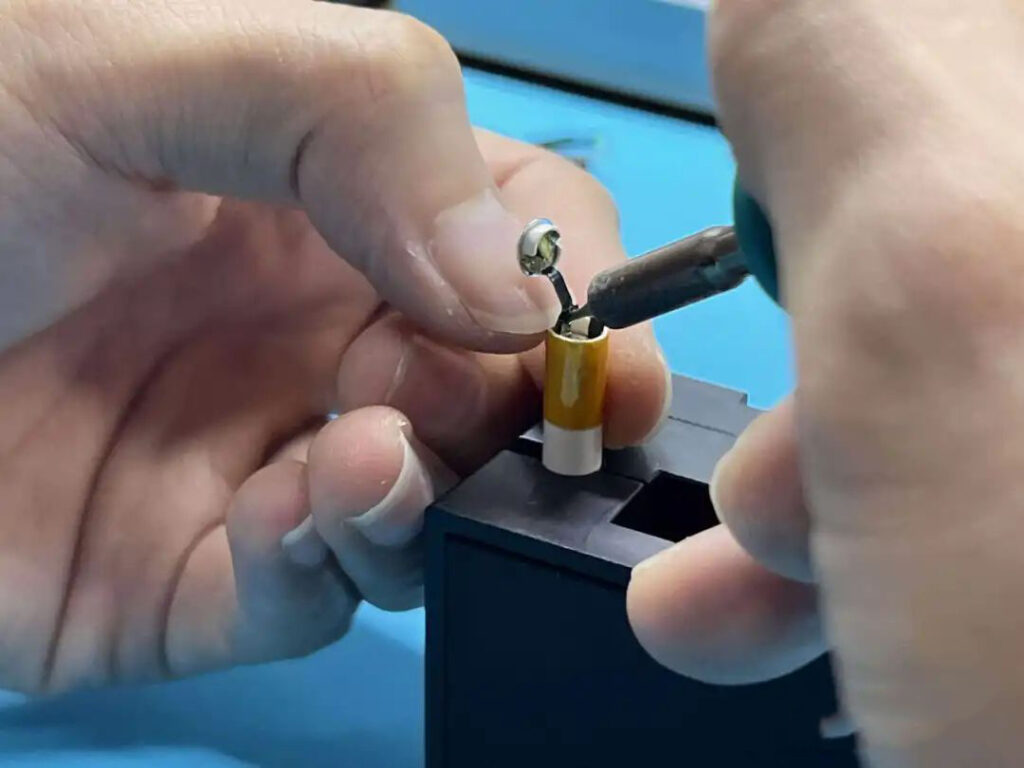
Solder the positive pole of the battery. Here, you need to use a fingernail or other object against the cable to prevent contact between the soldering iron and the earphone handle, which will cause the earphone handle to be deformed by heat.
Use tweezers to press down the positive shrapnel.
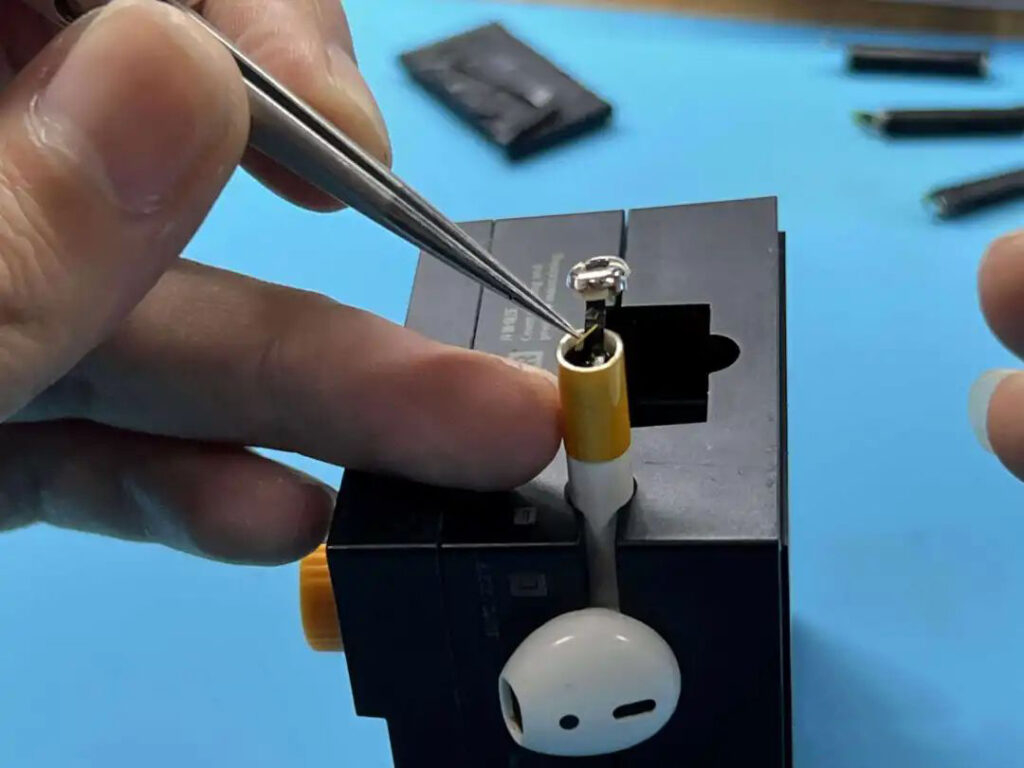
Another point of flux to prepare for soldering the positive electrode.
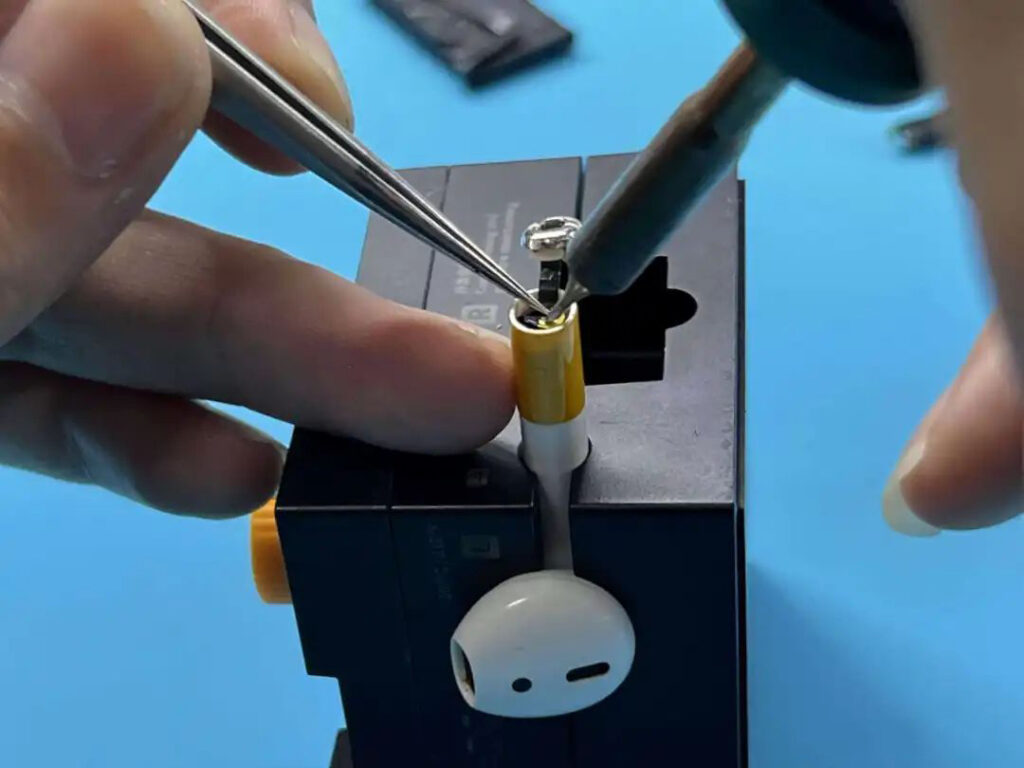
Use tweezers to fix the positive and negative metal sheets, and then use a soldering iron to weld the positive and negative electrodes of the headphone battery.
First test after battery replacement
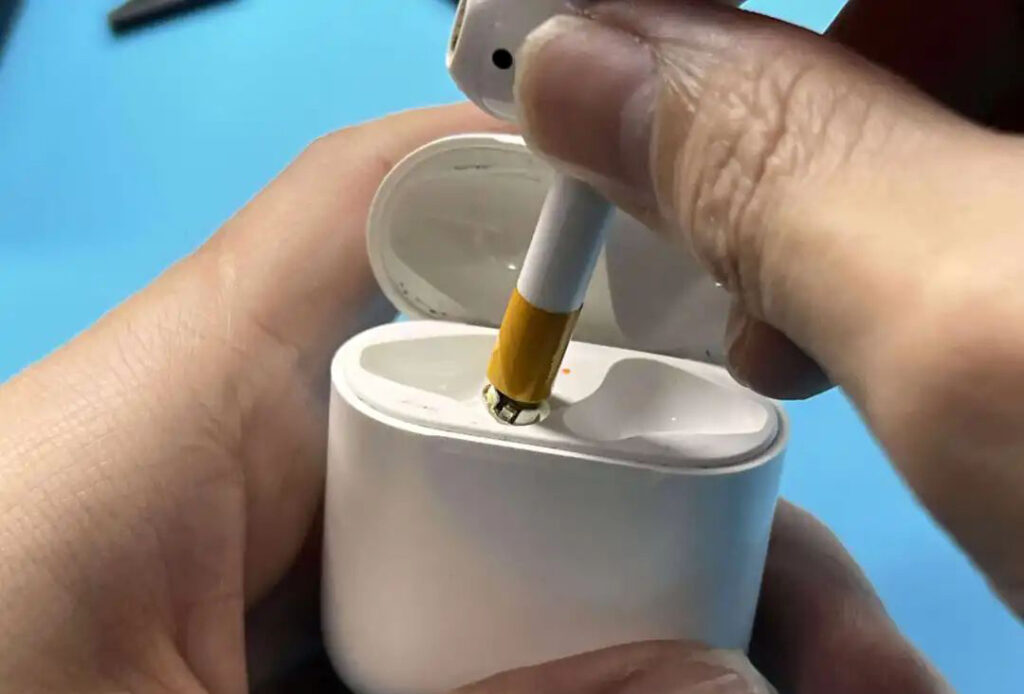
After the positive and negative electrodes of the battery are welded, the headphone function test is carried out before packaging.
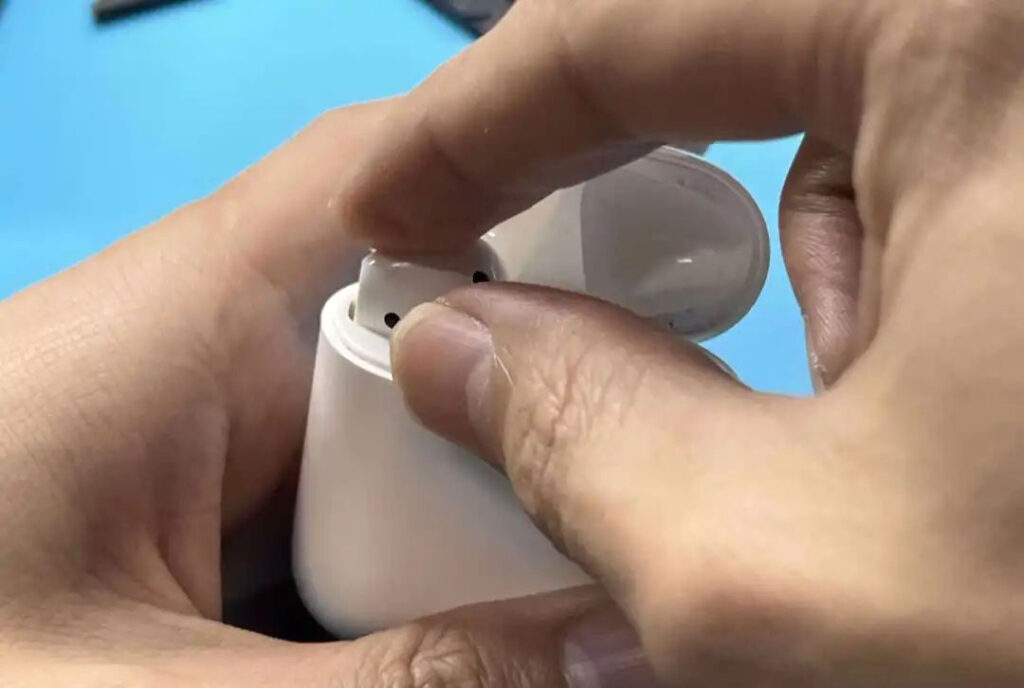
Put the headset back into the battery compartment.
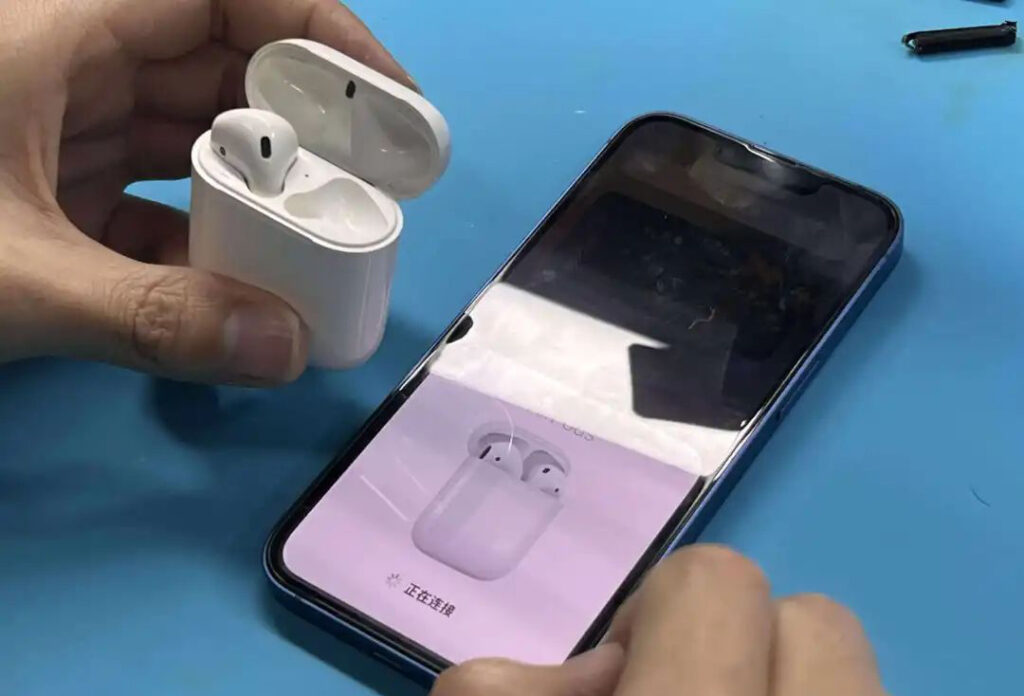
Open the battery compartment of the headset to test the open connection.
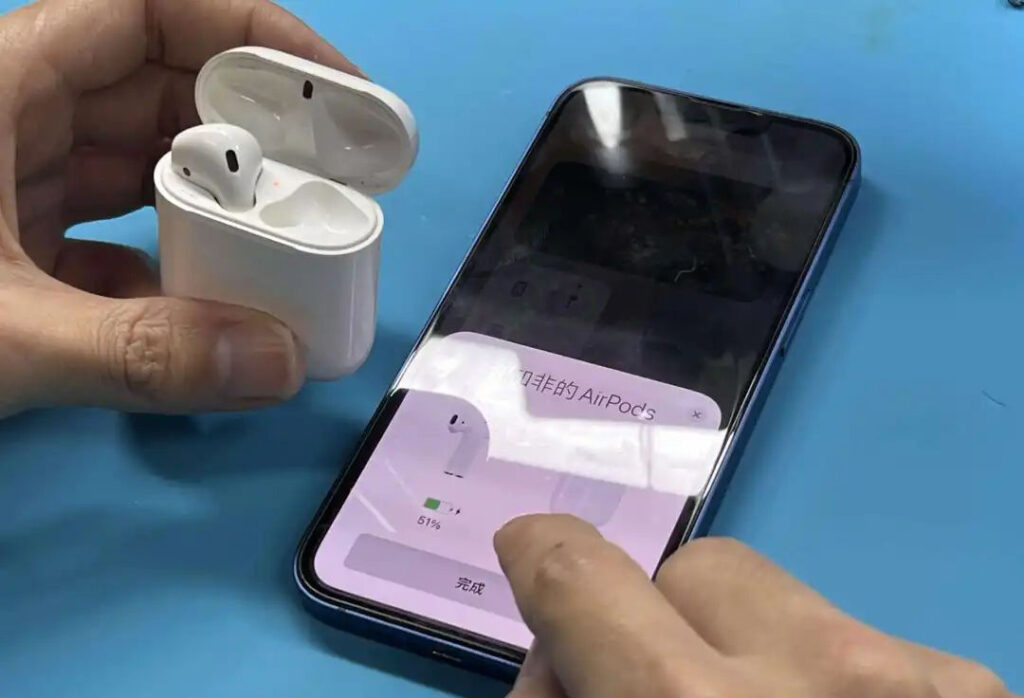
The headset is opened and connected successfully, the remaining 51% of the battery power shows that it is charging, and the battery power information is displayed correctly.
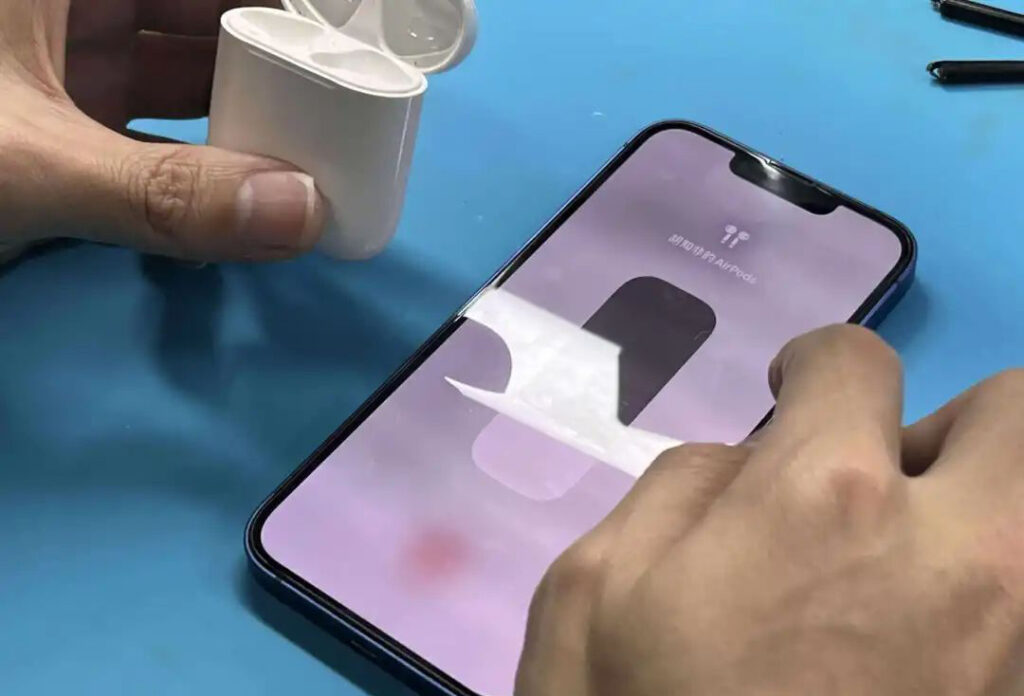
The volume control test of the headset is carried out through the mobile phone.
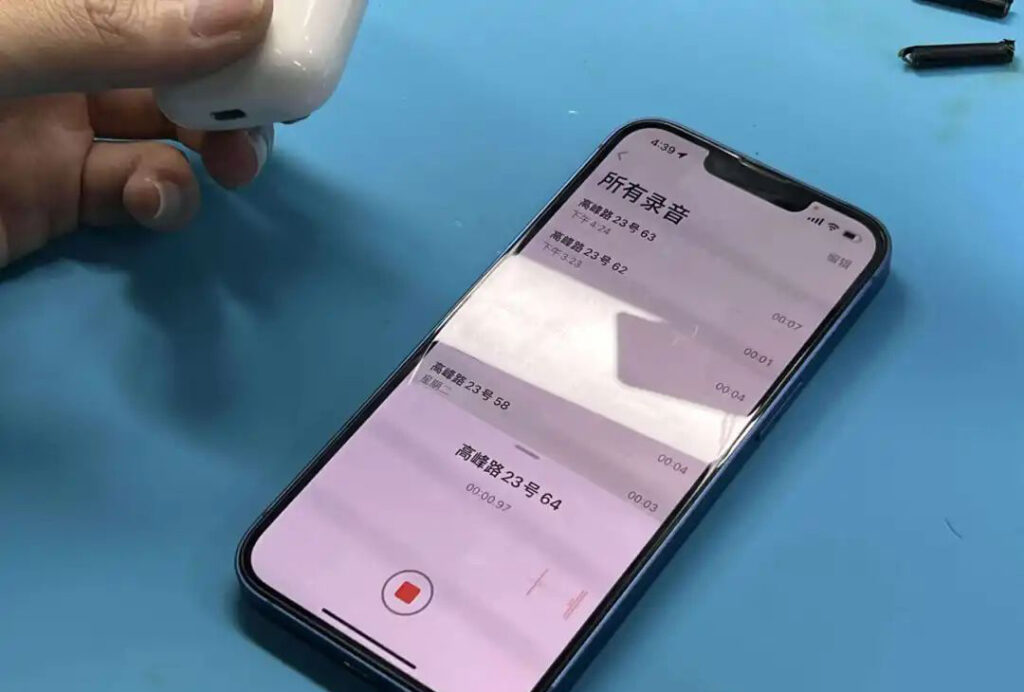
Headphone recording test.
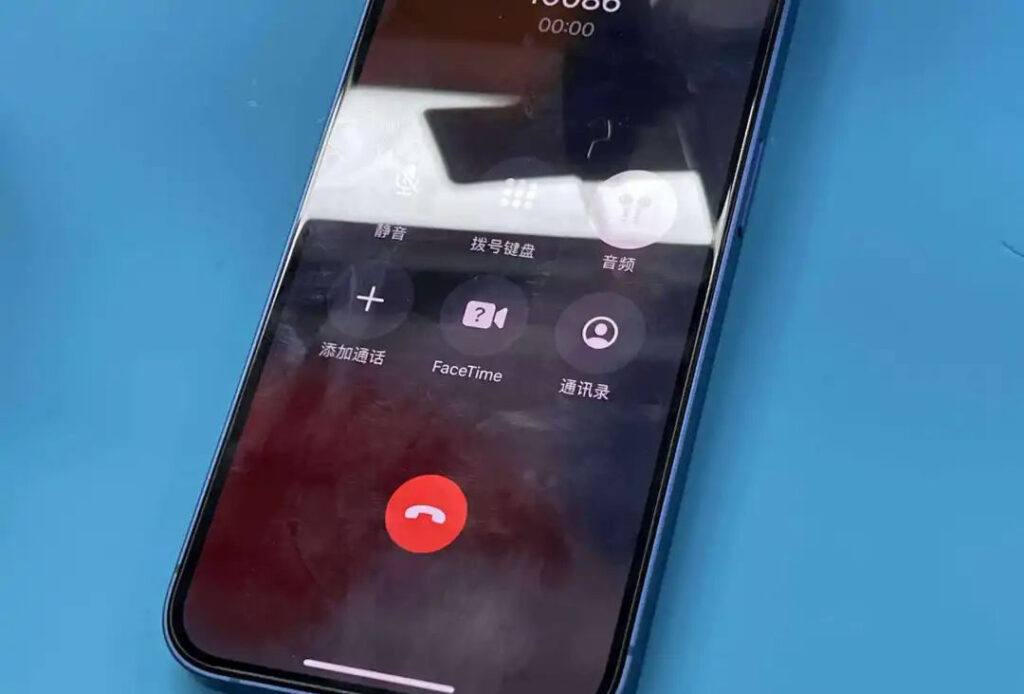
Headphone call volume test.
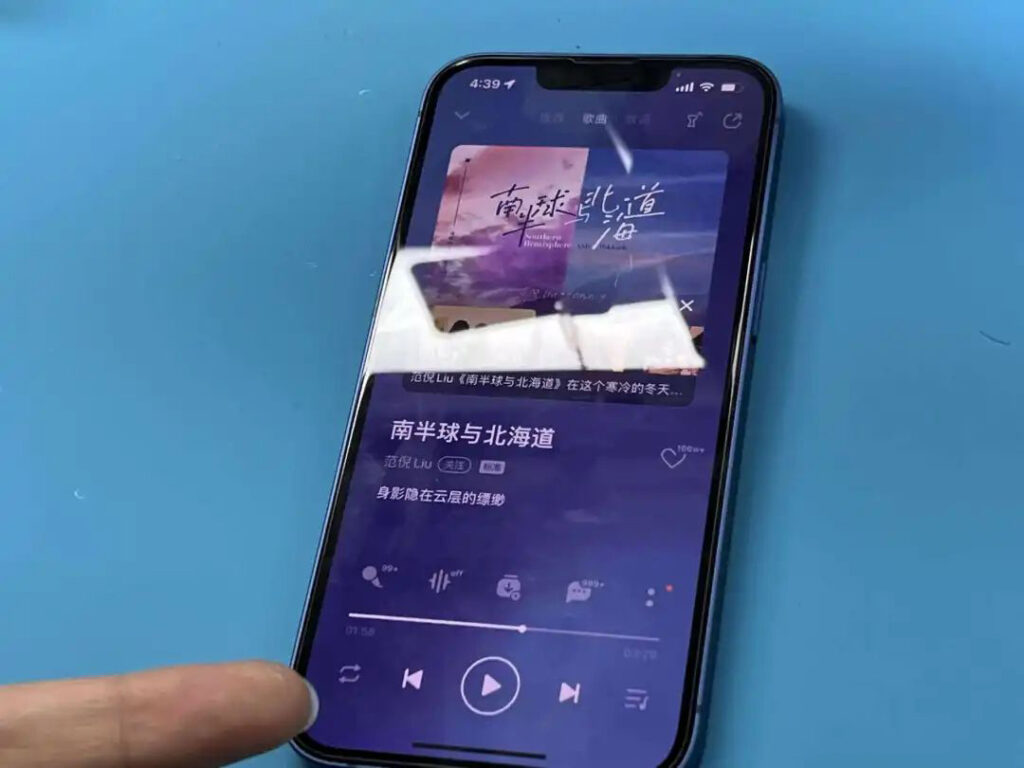
Headphone listening volume test.
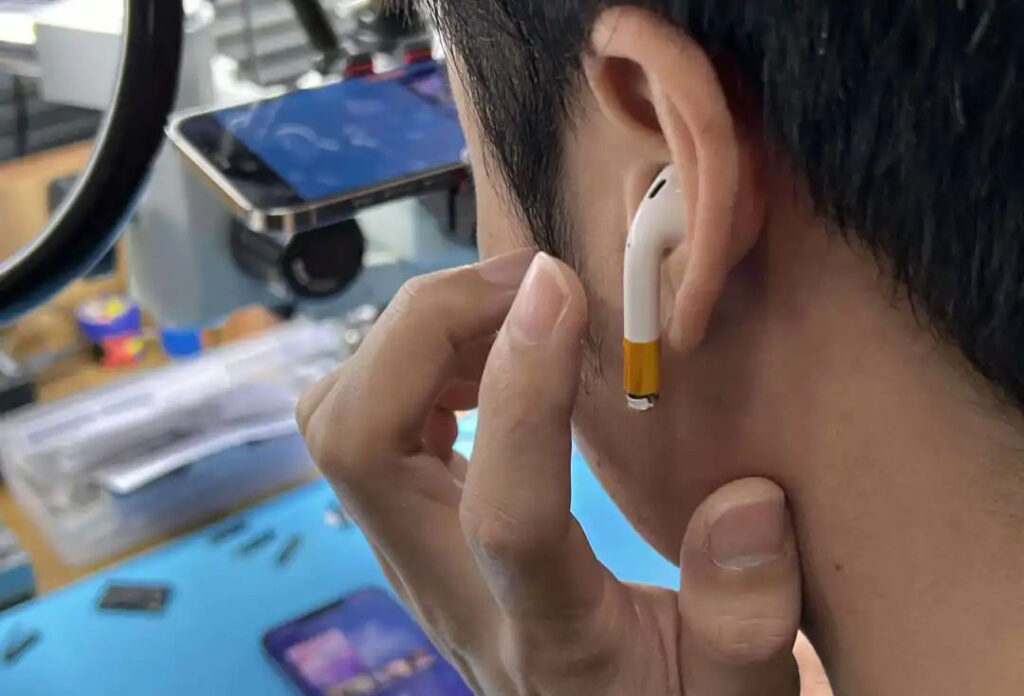
Headphone touch test.
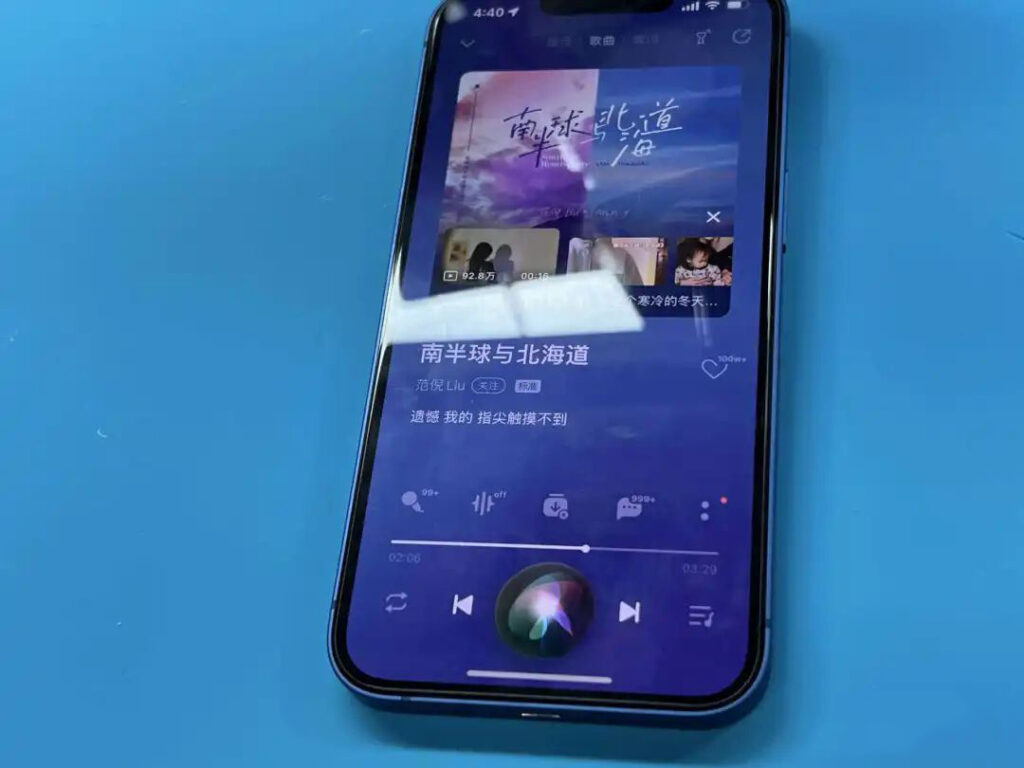
Voice test after calling out the Sir assistant through the headset.
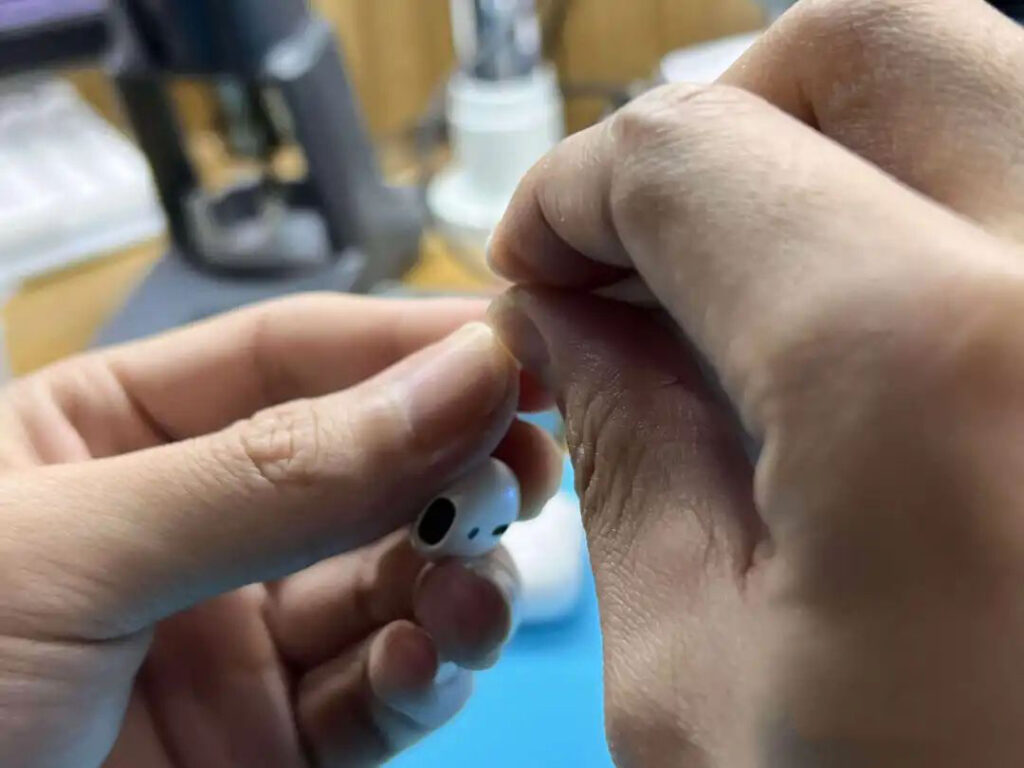
After the above tests are completed, the earphones can be removed for final packaging.
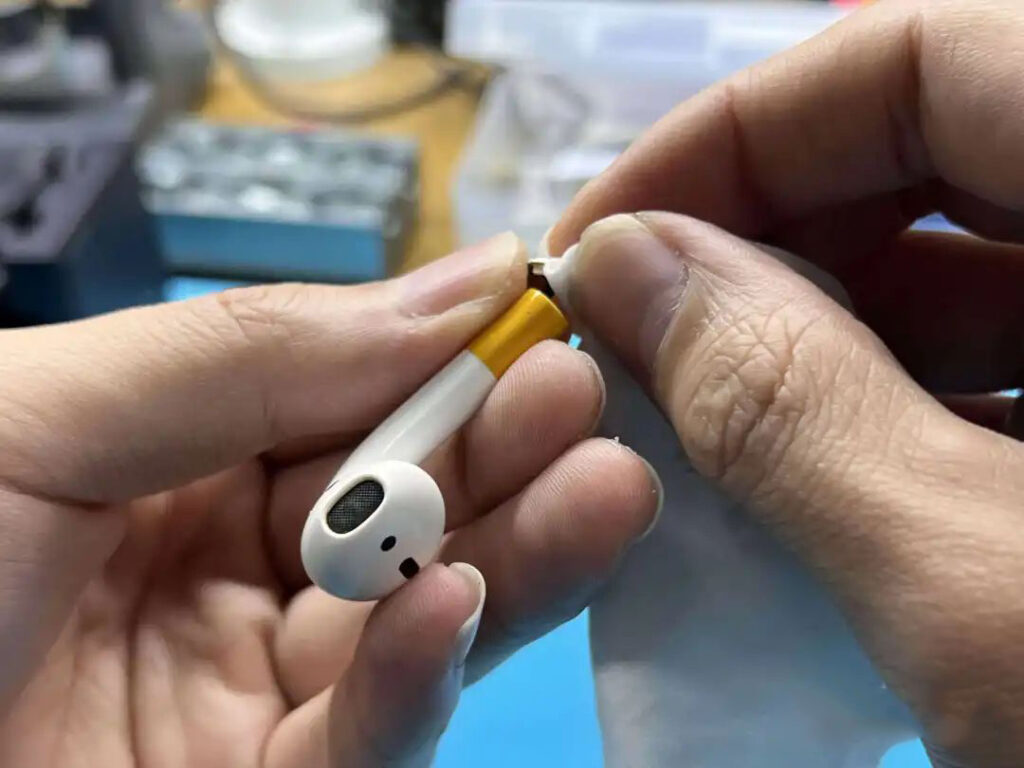
First wipe the inside of the earphone stem with a lint-free cloth to remove debris.
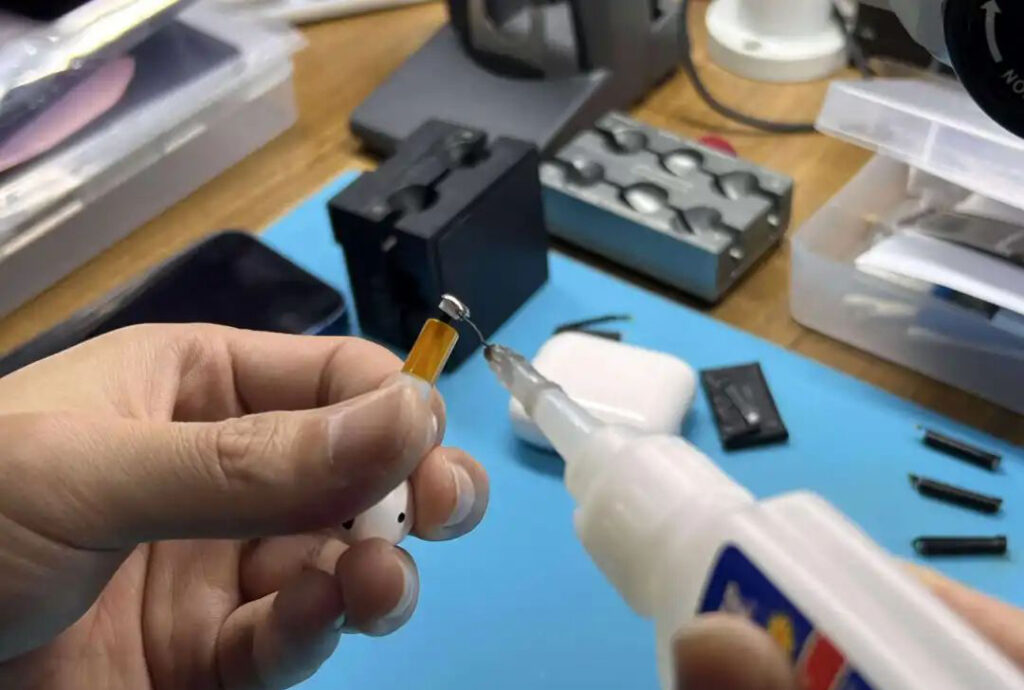
Use glue to seal the bottom of the headphone stem after wiping the debris on the bottom of the headphone stem.
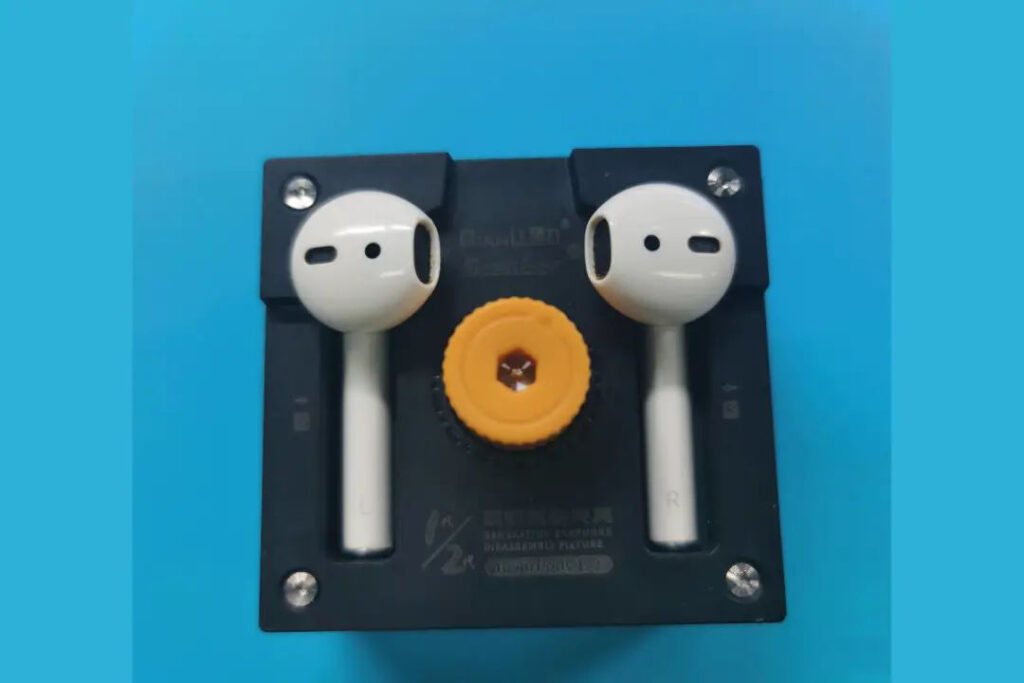
After the glue is applied, put the earphones back into the special fixture to fasten them and wait for the glue to solidify.
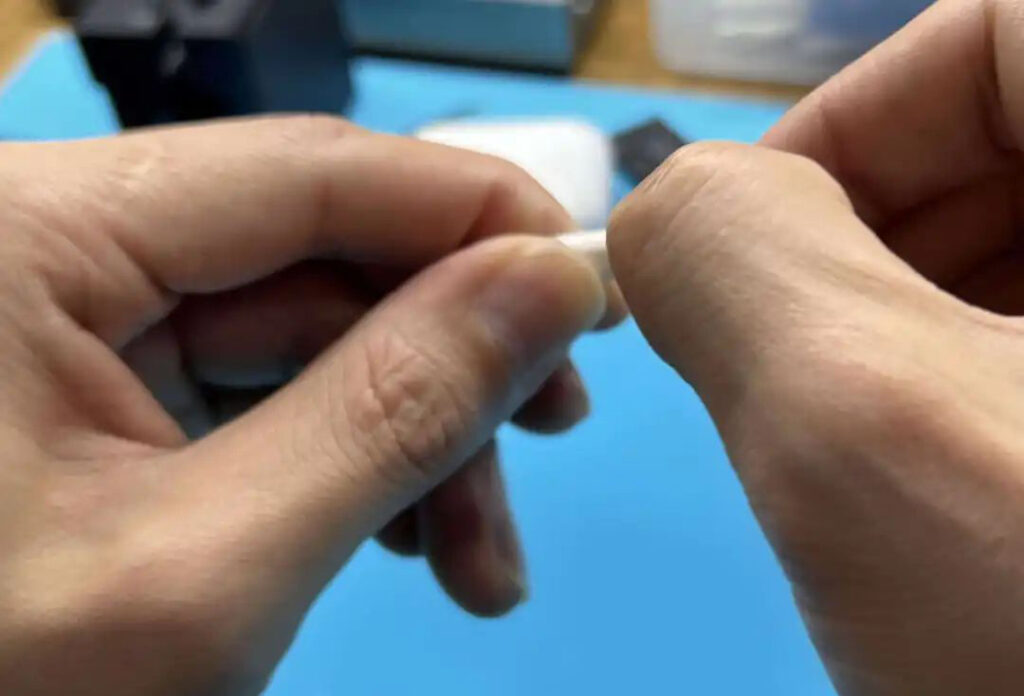
After the glue has solidified, remove the previous high-temperature resistant adhesive tape.
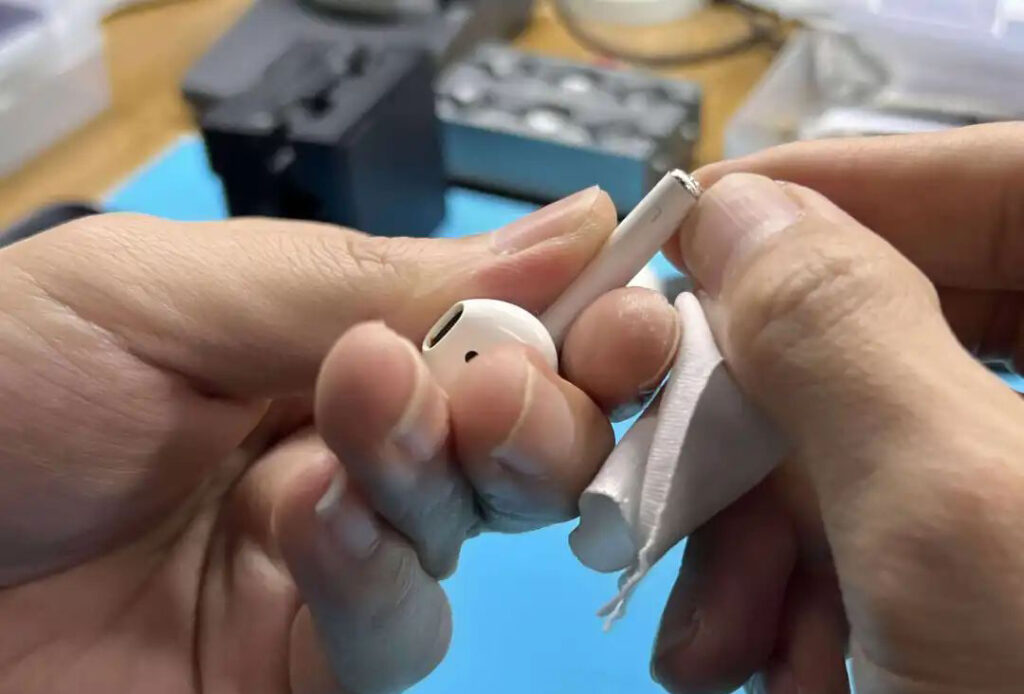
After removing the high-temperature adhesive tape, the engineer will clean the bottom of the earphone
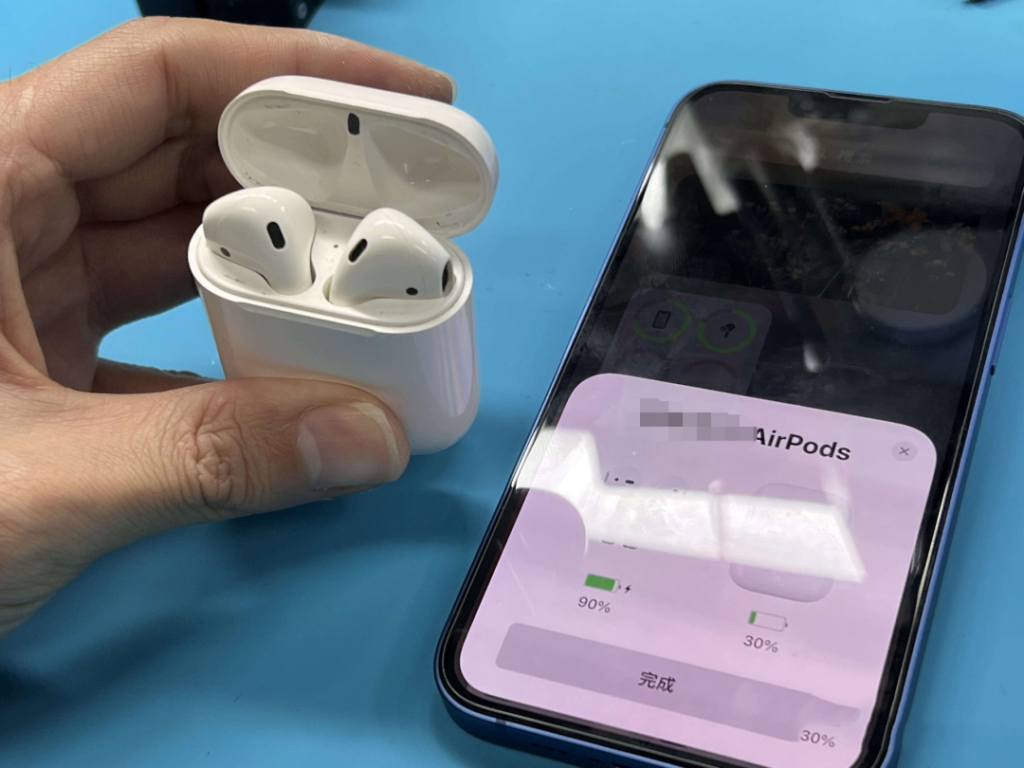
Put the earphones back into the charging case and perform the pop-up test again.
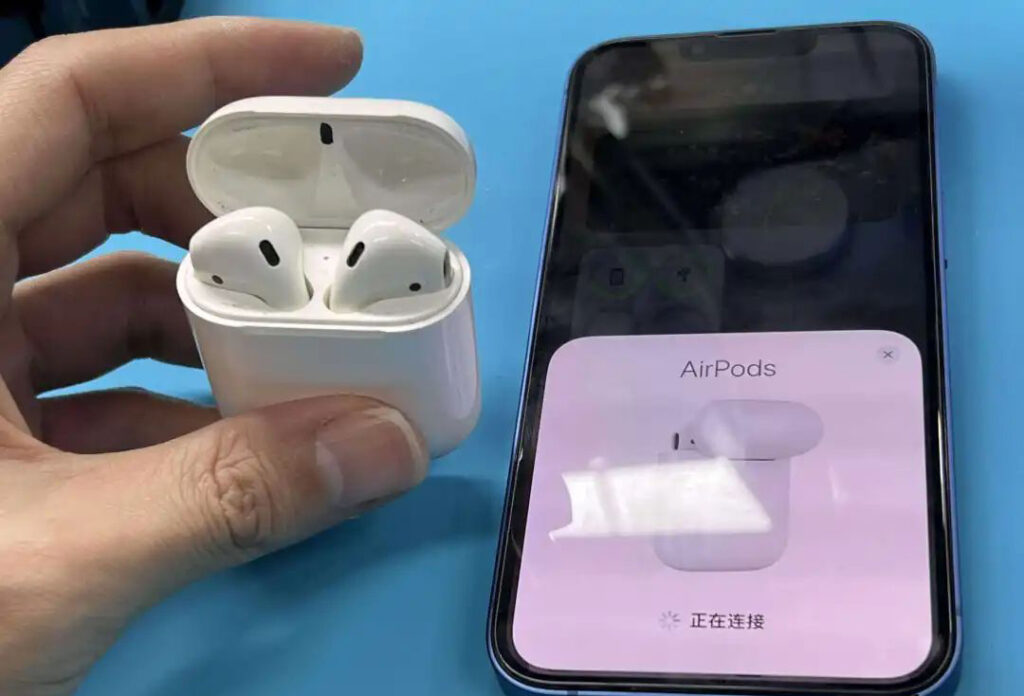
Headphone connection test.
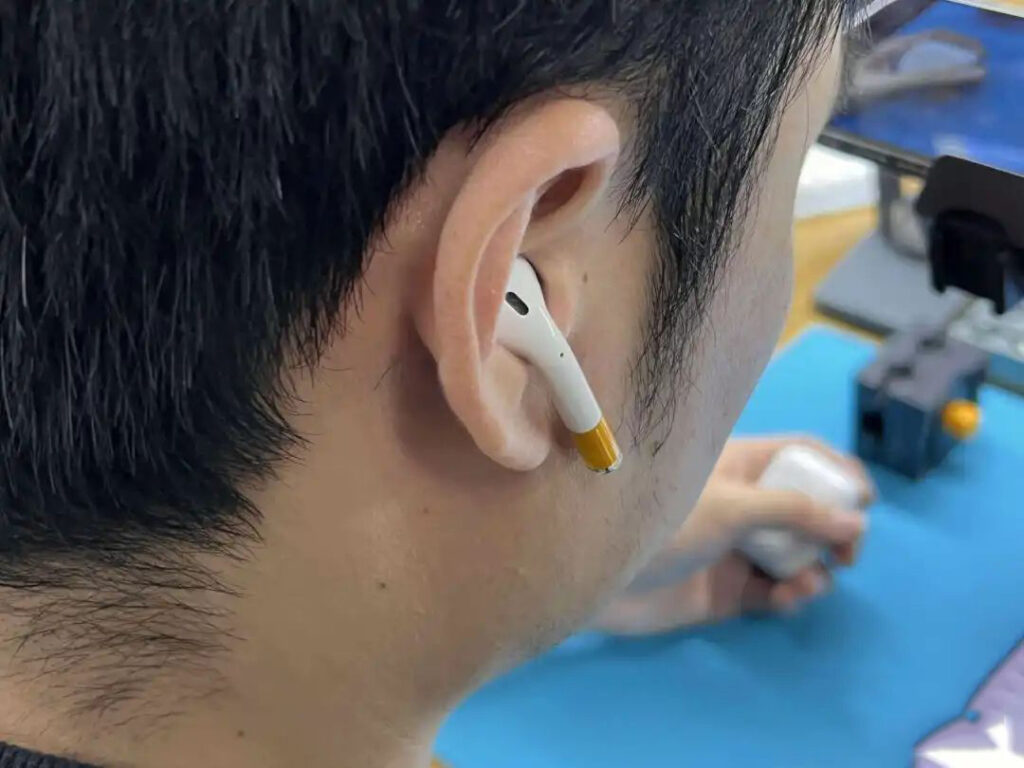
Wear headphones for in-ear detection.
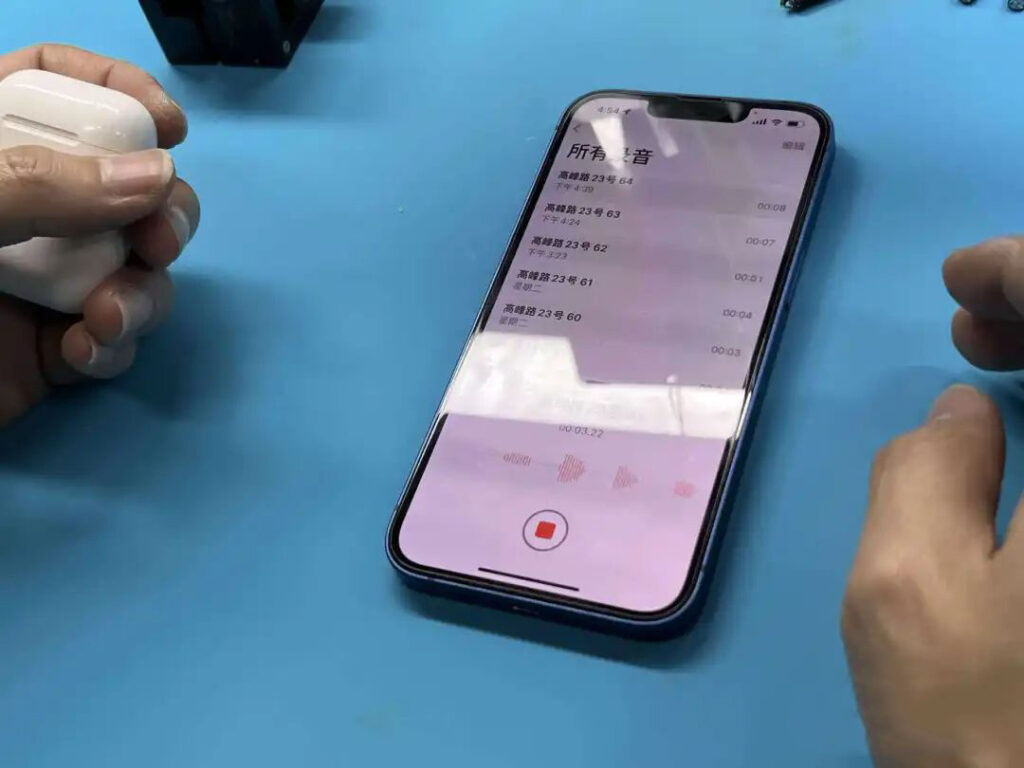
Test whether the microphone pickup function of the headset is normal.
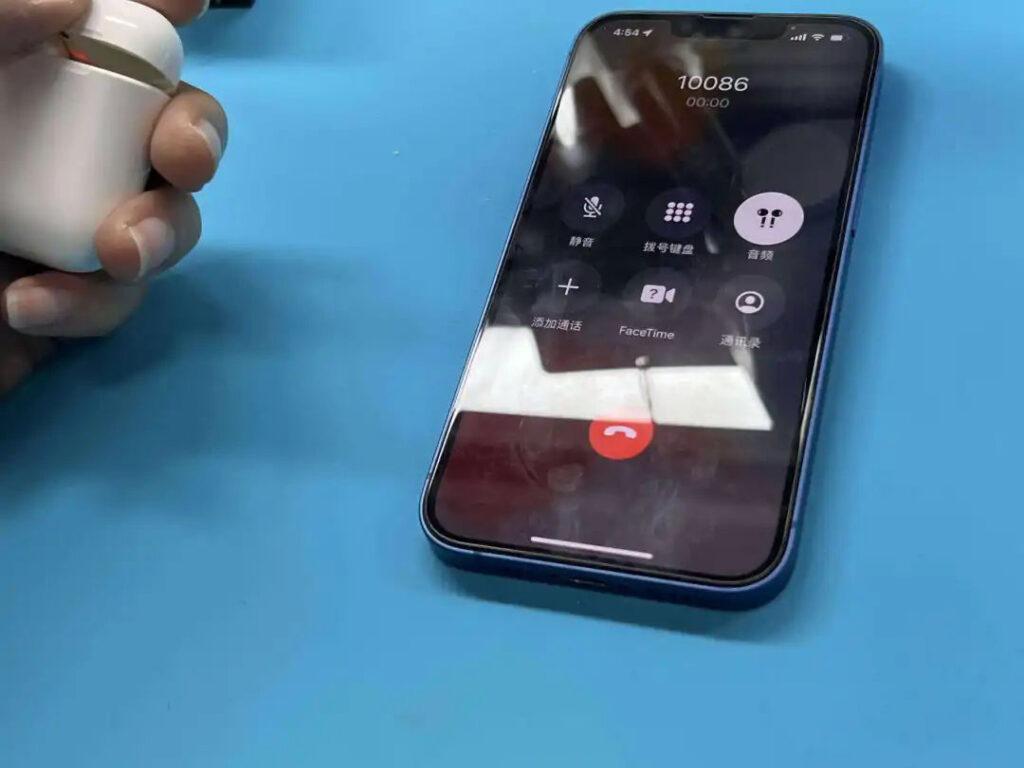
Test the headset call function.
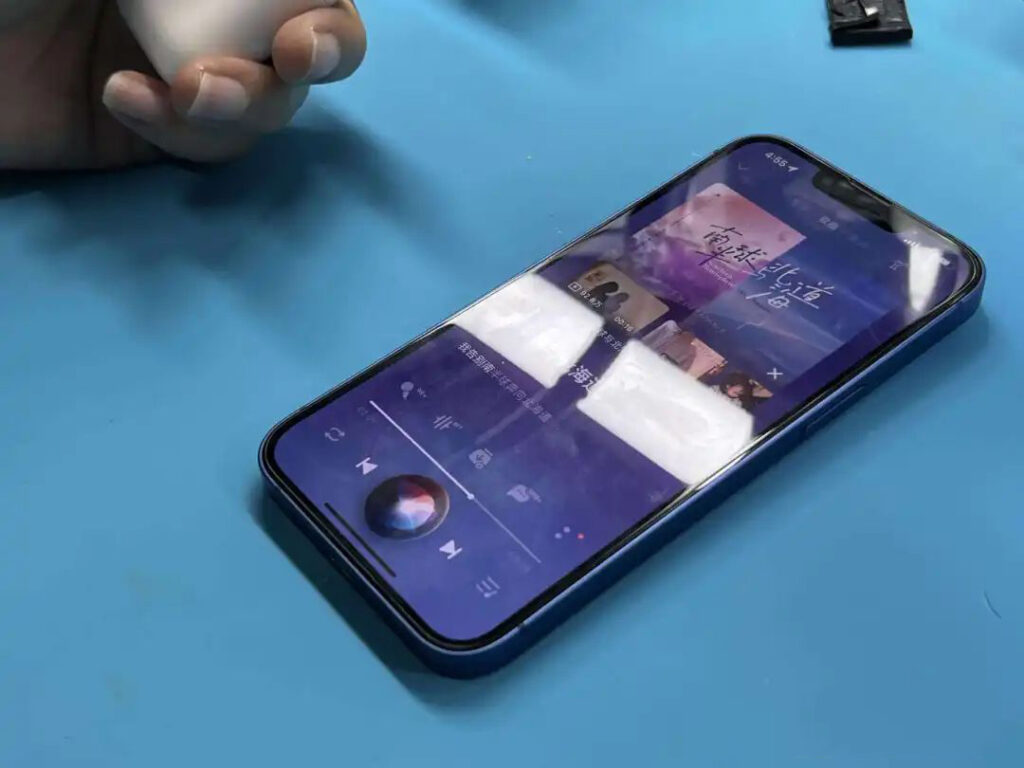
Test the Sir voice assistant function.
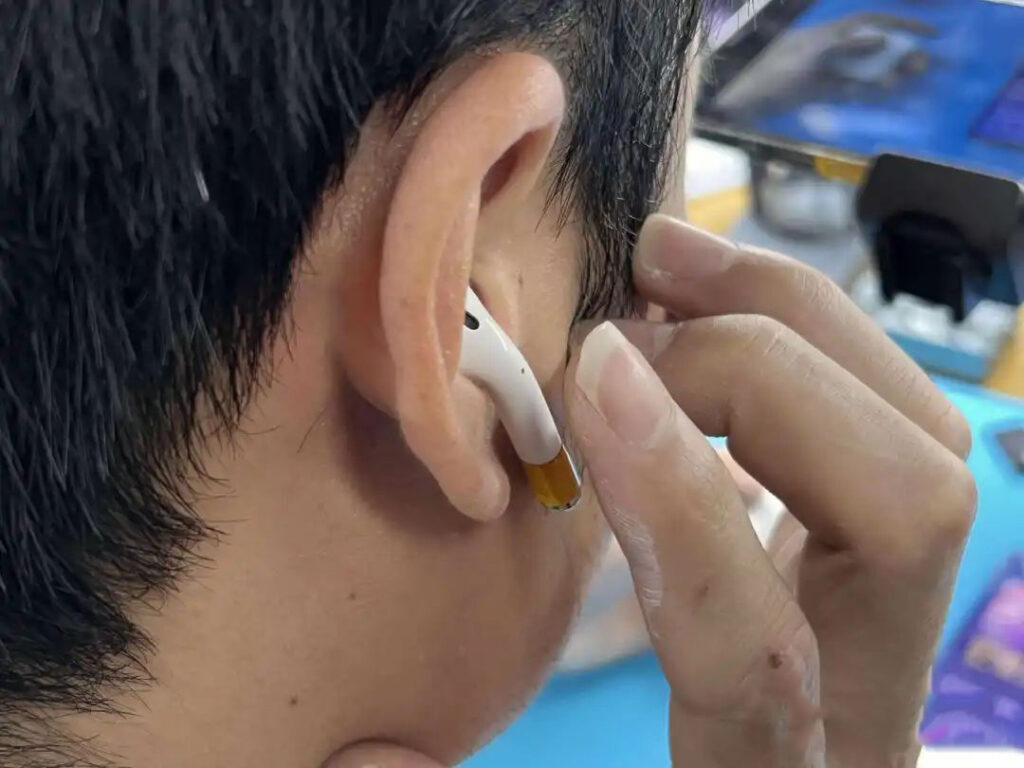
Test the headset touch function.
To be continued

