
De earste generaasje fan Airpods waard offisjeel lansearre yn desimber 2016. It is fiif jier lyn dat it waard lansearre yn 2021. In protte gebrûk fan 'e earphone, dy't net kin stypje, dat it deistich gebrûk fan' e batterij fan 'e linker- en rjochter-earphones. Tiid Asymmetry, ensfh.

Neffens de offisjele pagina fan Apple kin de earste-generaasje-loftfoanen brûkt wurde mei it opladen fan 'e oplaad, de harke tiid kin mear dan 24 oeren wêze, en de peteartiid kin oant 11 oeren wêze. Airpods (Single Closing): Oant 5 oeren harkjentiid en oant 2 oeren peteartiid. Apple-koptelefoanen hawwe in enoarme merkdiel yn 'e wrâld, en it Airpods-merkdiel yn' e Sineeske merk hat safolle as 40% berikt.
As early as 2020, a report pointed out that the daily listening time of Chinese netizens is as follows: Most users listen to songs for less than 2 hours, of which users who listen to songs for 1 minute to 1 hour account for 35.9%, 36.4% of users listen to songs for 1-2 hours. Fewer users listen to songs for more than 3 hours, accounting for only 2.7%
De doer fan harkjen nei ferskes wurdt berekkene op basis fan in gemiddelde fan 1,5 oeren per dei. De totale doer fan harkjen nei ferskes troch in brûker sil 547,5 oeren per jier berikke, dat is 109,5 fytsen fan oplaadtiden. It hat 5 jier west sûnt de earste generaasje fan loftpodus waard frijlitten. , dat is in pear earste-generaasje-koptelefoan yn it normale gebrûk fan 'e Generlân yn it normale gebrûk fan fytse en lading oant 547,5 kear, en it batterij sil wurde skerp, nei't de batterij net fytst en mear dan 500 kear is ûntslein en ûntslein.
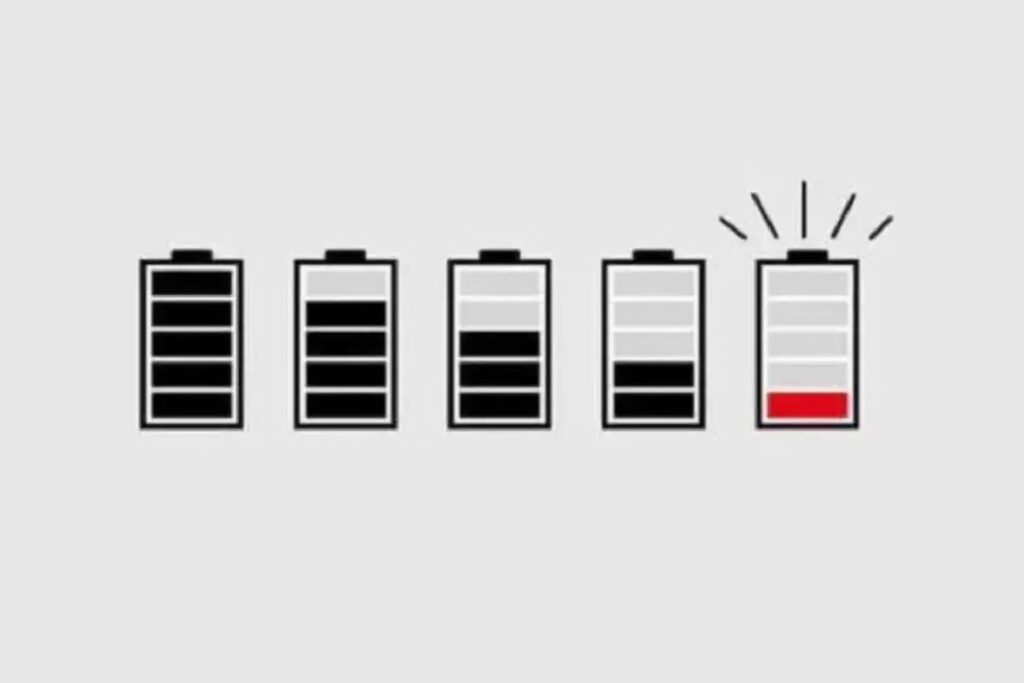
Om gear te pakken, de earste batch fan Airpods tsjinkomme no yn 't algemien it probleem fan' e fergrizing fan 'e earphone-batterij, en Apple jout gjin tsjinst foar batterijferfanging. Underhâld is net mooglik”.
Dat binne fleantugen wirklik om te wêzen Sheled en rêstich einige yn 'e kontekst fan AWING BATTERIES? Ik tink fan net. Doe't ik de orizjinele Apple Airpods útskeakele, tocht ik dat dit produkt koe wurde repareare, mar de tiid foar reparaasje wie net ryp op dat stuit.
Oant de earste generaasje fan Airpods 5 jier lyn waard frijlitten, krige ik faaks fragen lykas “Kin Airpods-koptelefoanen de batterij ferfange?”, Ik holp myn freonen in tutorial te finen op it ferfangen fan 'e batterij fan' e koptelefoan fan Airpods.
1
Airpods Headphone Rephement Batterij
De ferfanging fan 'e earphone-batterij hat in totaal fan ynspeksje foarôfgeande ûnderhâld, befêstiging fan it probleem, ûnderhâld, yngenieur sels-ynspeksje, OQC-produkt ynspeksje, en oare keppelings.
Kontrolearje foardat jo de batterij ferfange
When receiving the headset that needs to be repaired, the headset will be connected to the computer first, and the product serial number of the headset will be registered through the “hourglass” software, which is used to record the product information of each customer for subsequent issuance. After the engineer gets the headset that needs to be repaired, he will test the related functions of the headset to lock the source of the problem. Next, let’s enter the pre-repair inspection link.
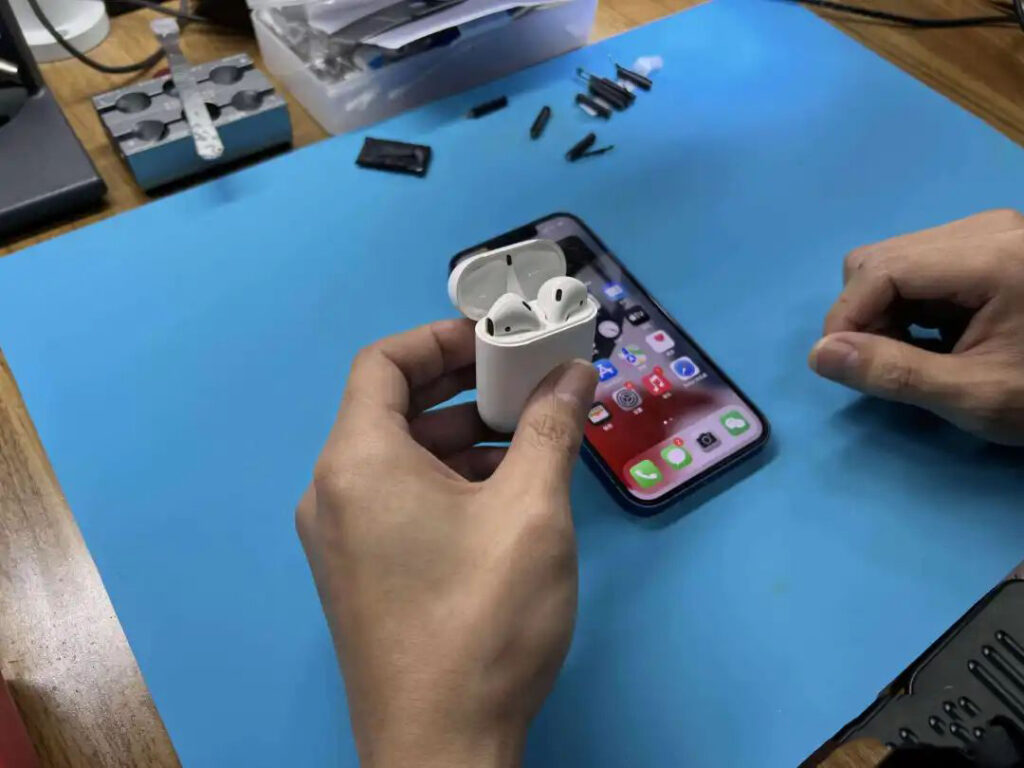
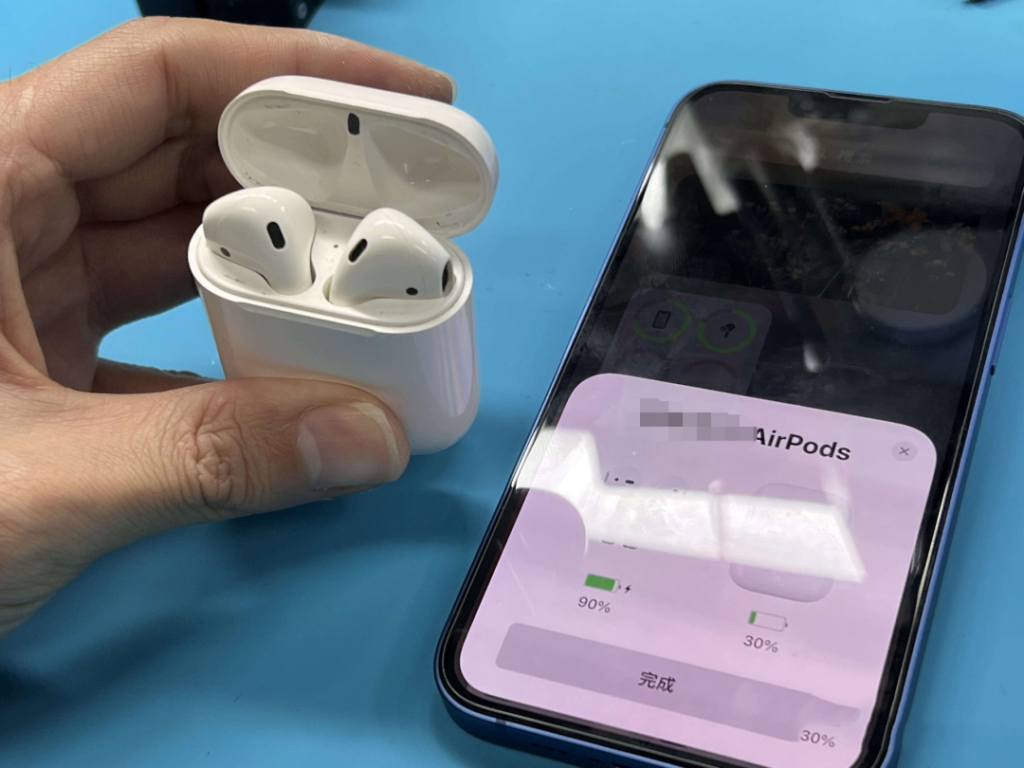
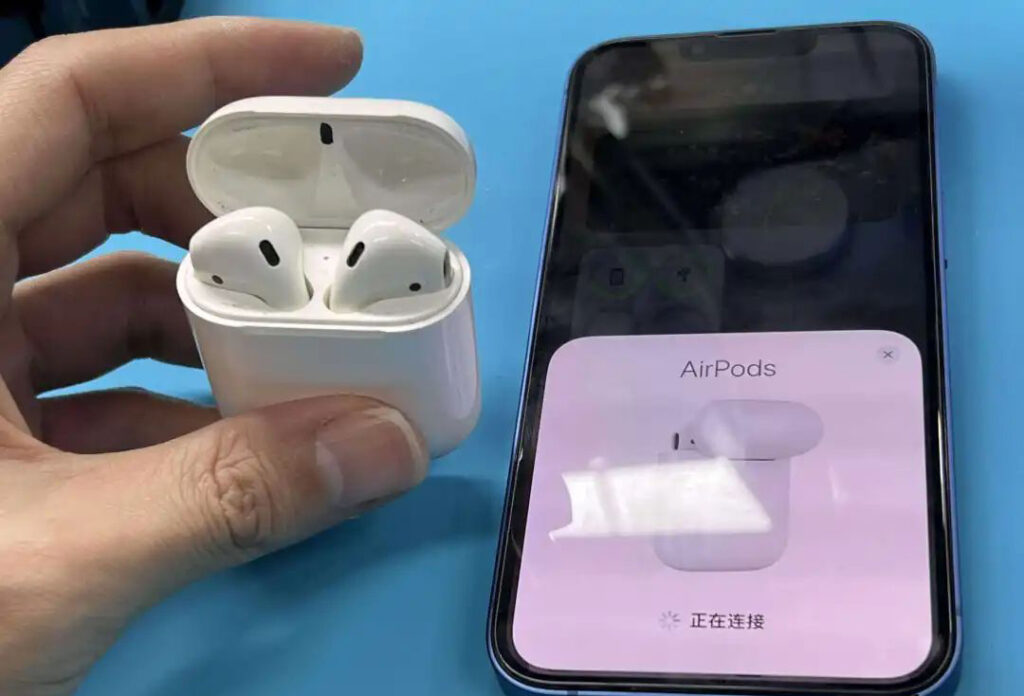
The first is to detect the connection function of the earphone. Open the top cover of the earphone charging box, check whether the product indicator light is flashing and whether there is a connection pop-up window on the mobile phone.
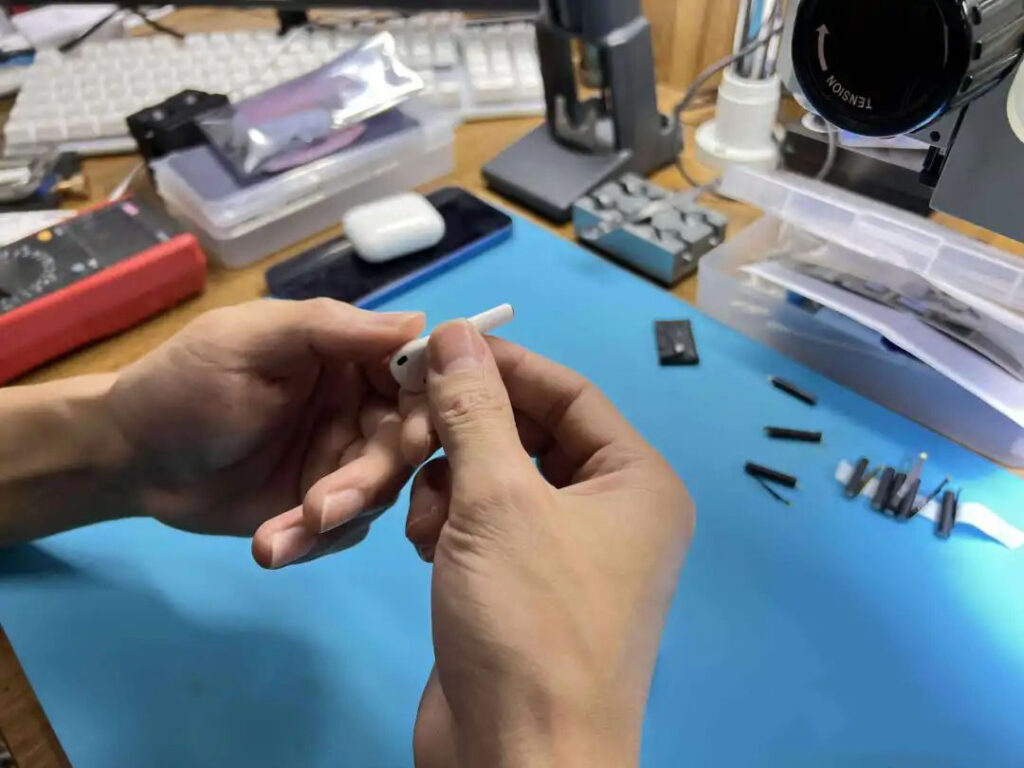
Take out the earphone and check whether the appearance of the earphone is damaged or scratched.
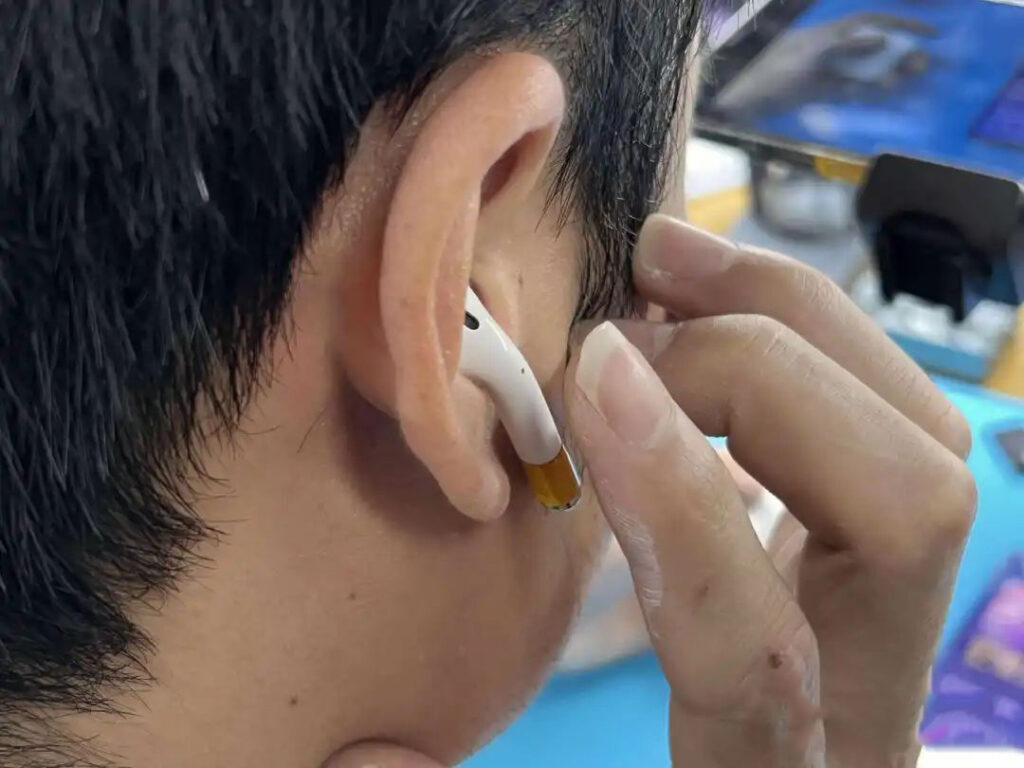
Put on the headset to check the touch, in-ear detection, sound, and other functions of the headset.
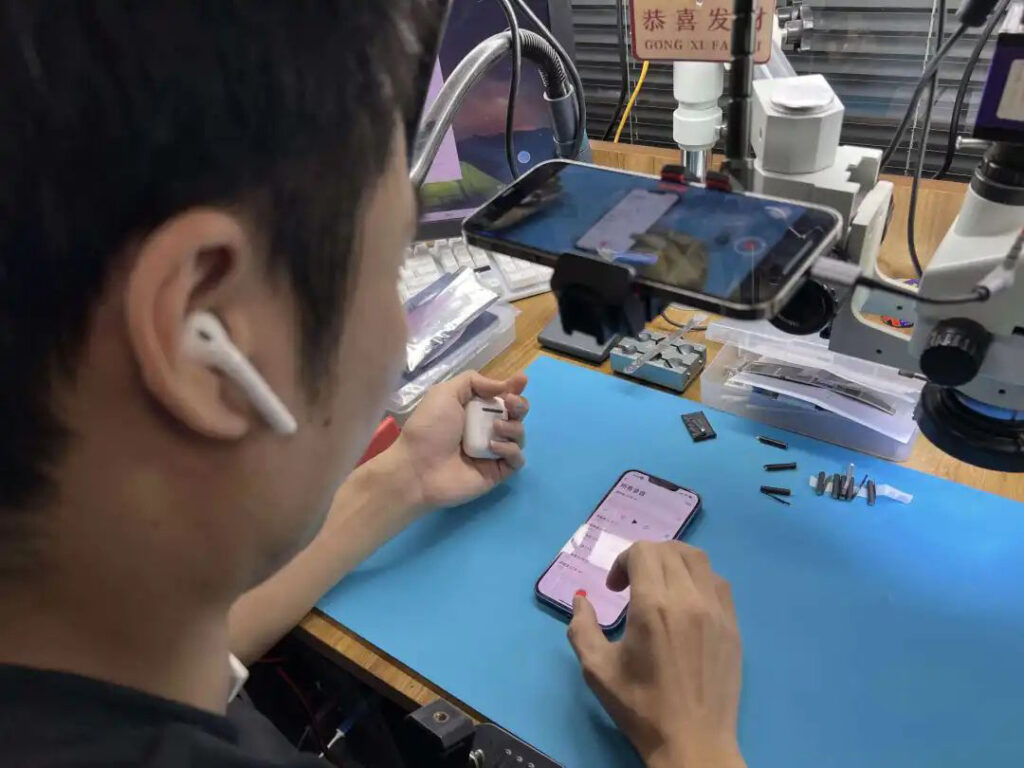
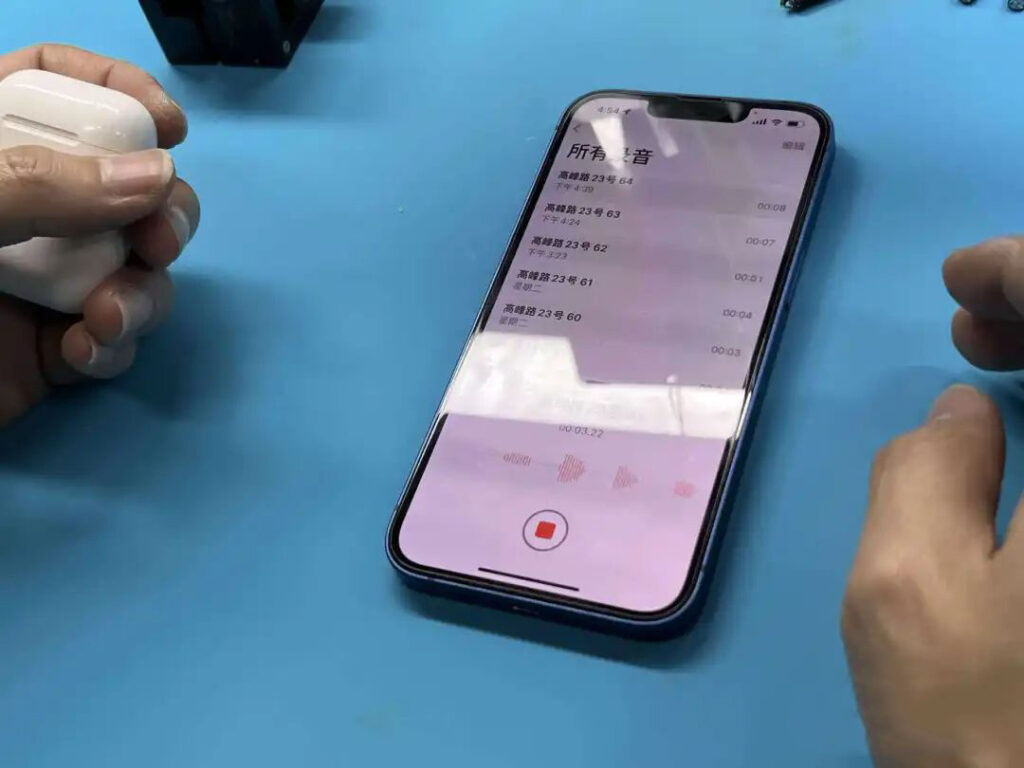
Open the mobile phone voice memo software and test the microphone of the headset.

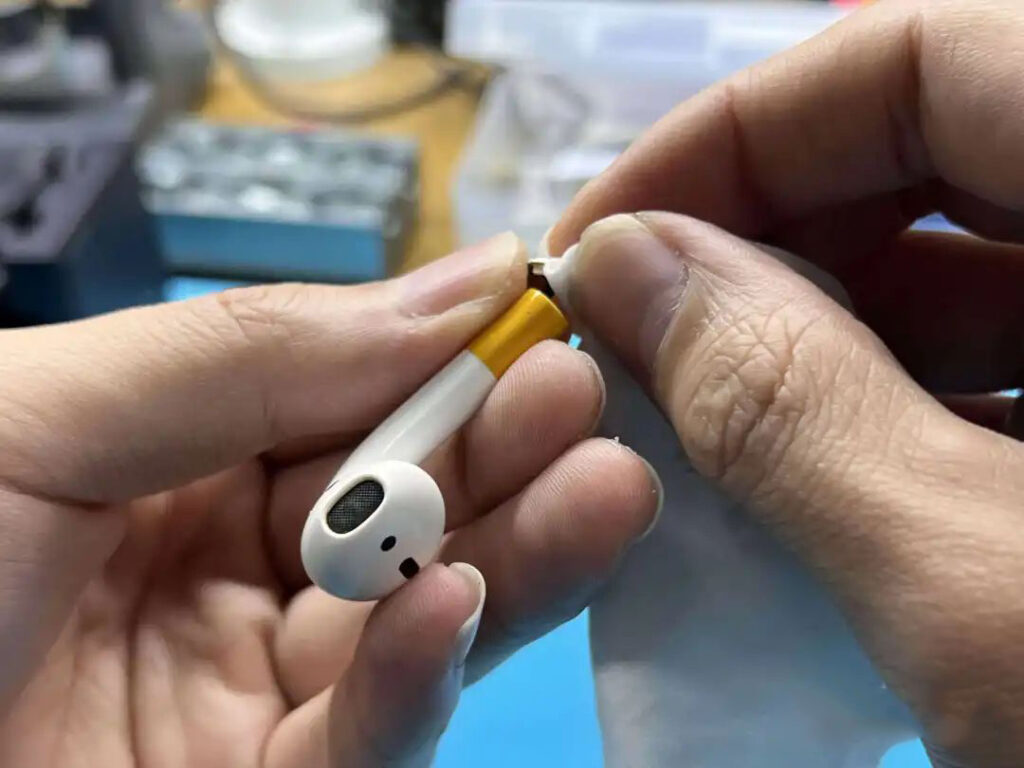
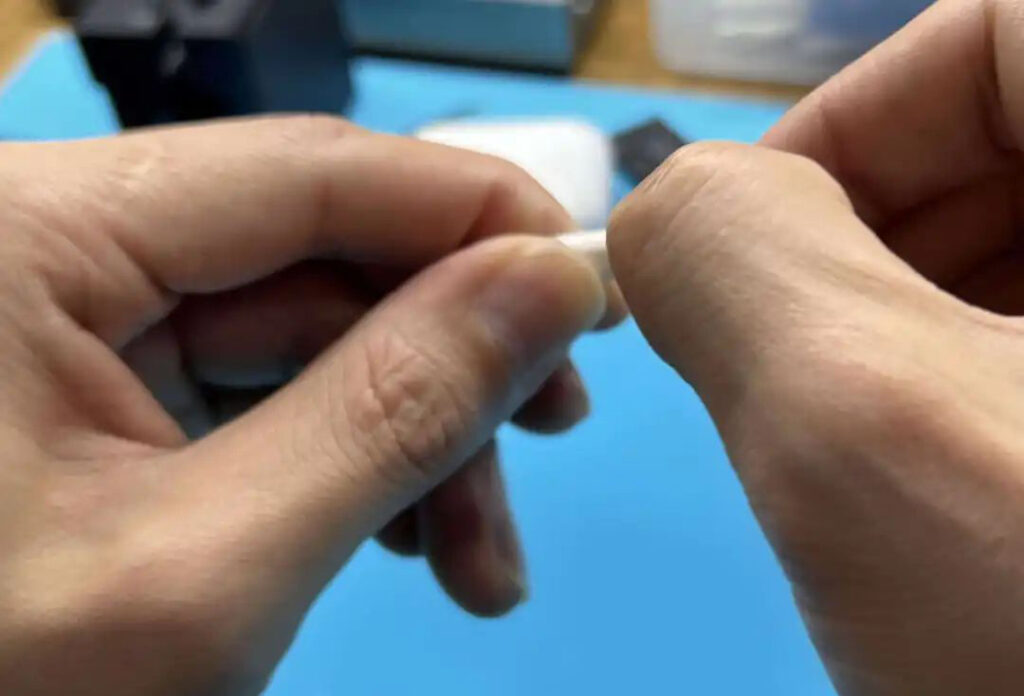
After confirming that the headset needs to be replaced, use high temperature-resistant adhesive tape to stick it on the bottom of the headset handle to prepare for the subsequent operation.
battery replacement
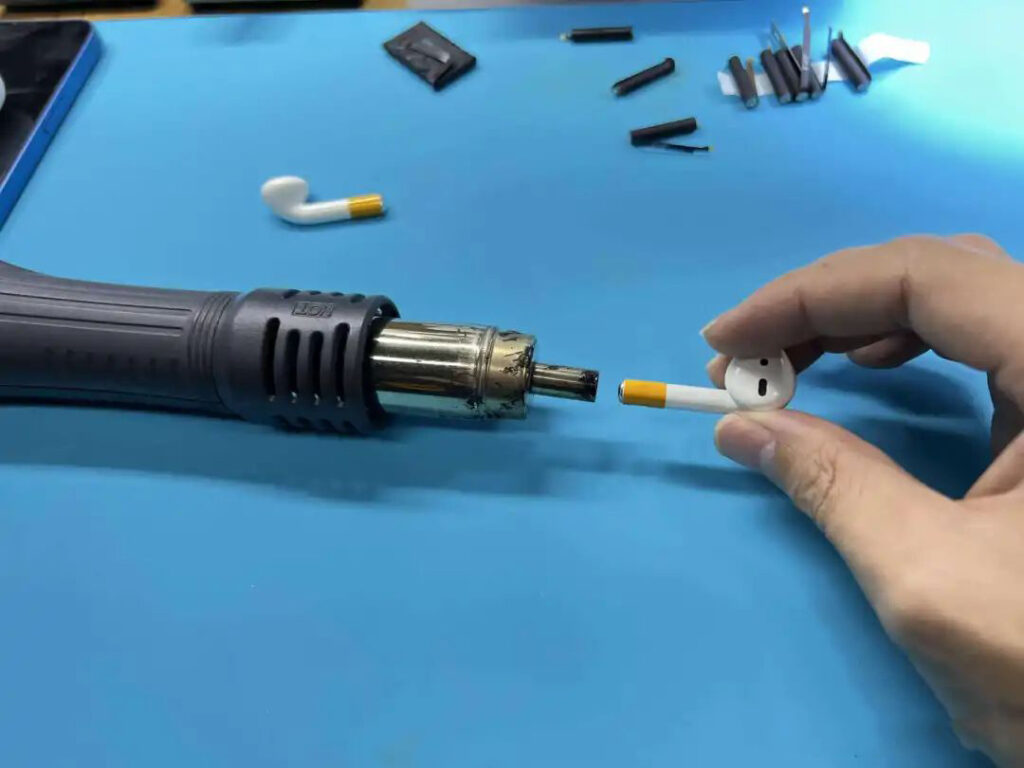
Use a heat gun to aim at the bottom cover at the bottom of the earphone handle for heating, the temperature is 100 degrees, and the heating time is about 8s.
Nei ferwaarming iepenje de boaiem gefal foarsichtich fan 'e earphone mei jo fingernagels as pinszers. Wês foarsichtich om de ynterne kabel net te lûken. Guon gewetenleaze keaplju sille direkt it uterlik fan 'e earphone weromsette en de klant ynformearje dat it net kin wurde repareare nei it brekken fan it earrefkabel yn dizze stap. Wy moatte oandacht jaan.
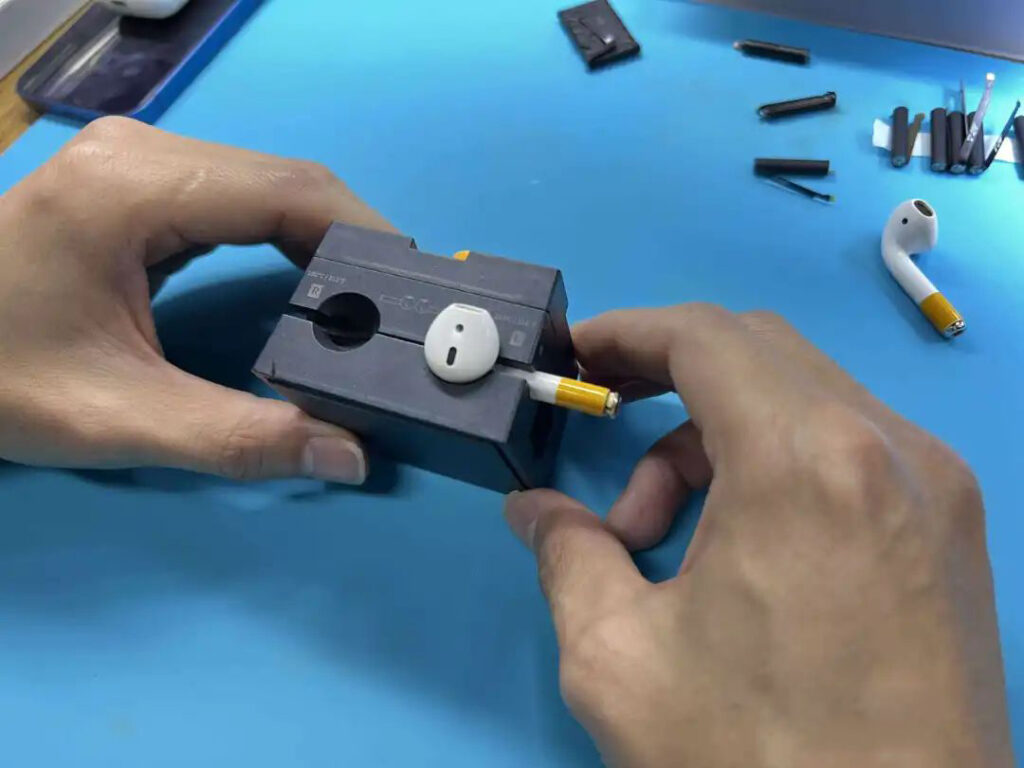
Folgjende is de headset klommen ta in spesjale resin-fixture foar de folgjende stap.

Clean the glue of the glue on the bottom case of the earphone handle. When cleaning the glue, be careful not to pull the headphone cable. The amount of glue for each earphone is inconsistent. When there is too much glue, it will affect the operation of this step. The Geek Bar entrusts experts to customize the glue It can avoid too much glue and lead to repair failure.
The glue is cleaned up.
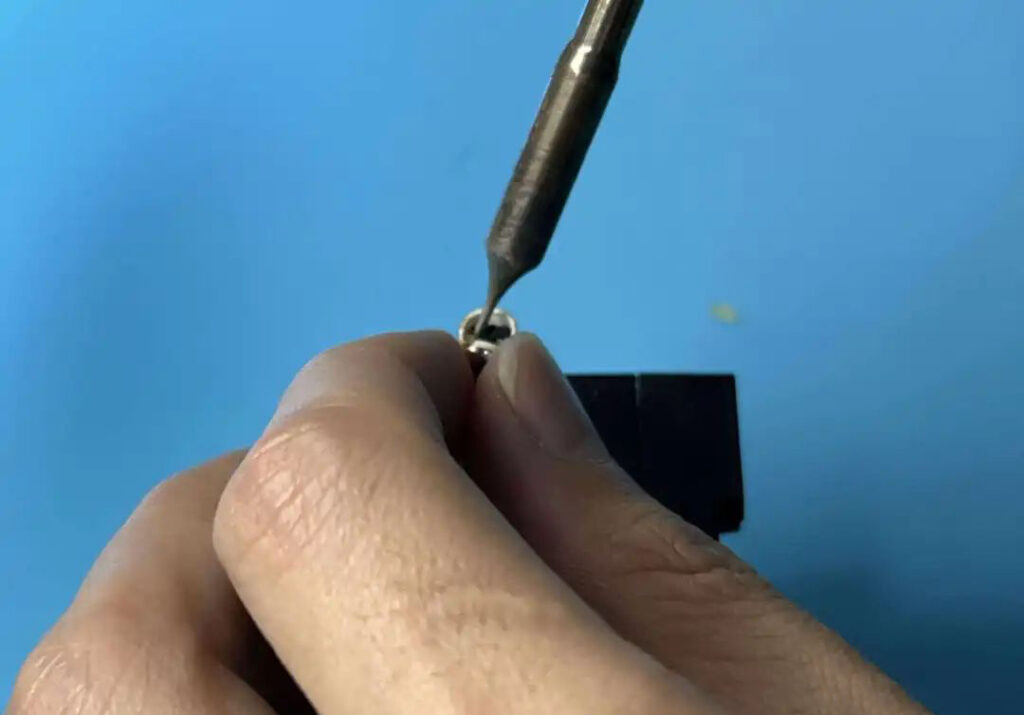
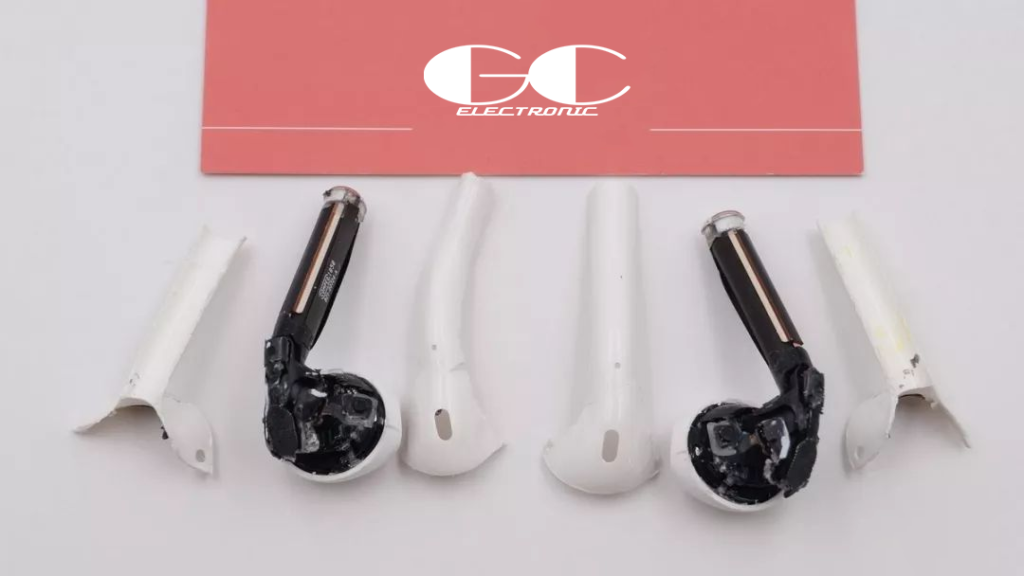
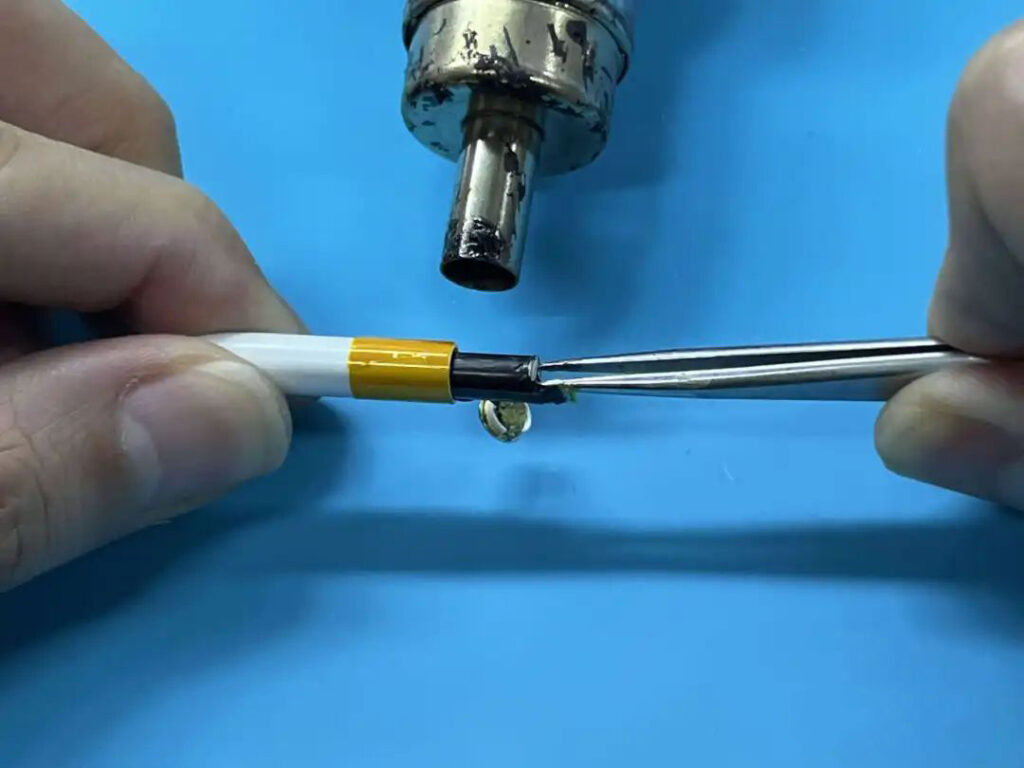
Spot the flux and remove the battery negative with a soldering iron.
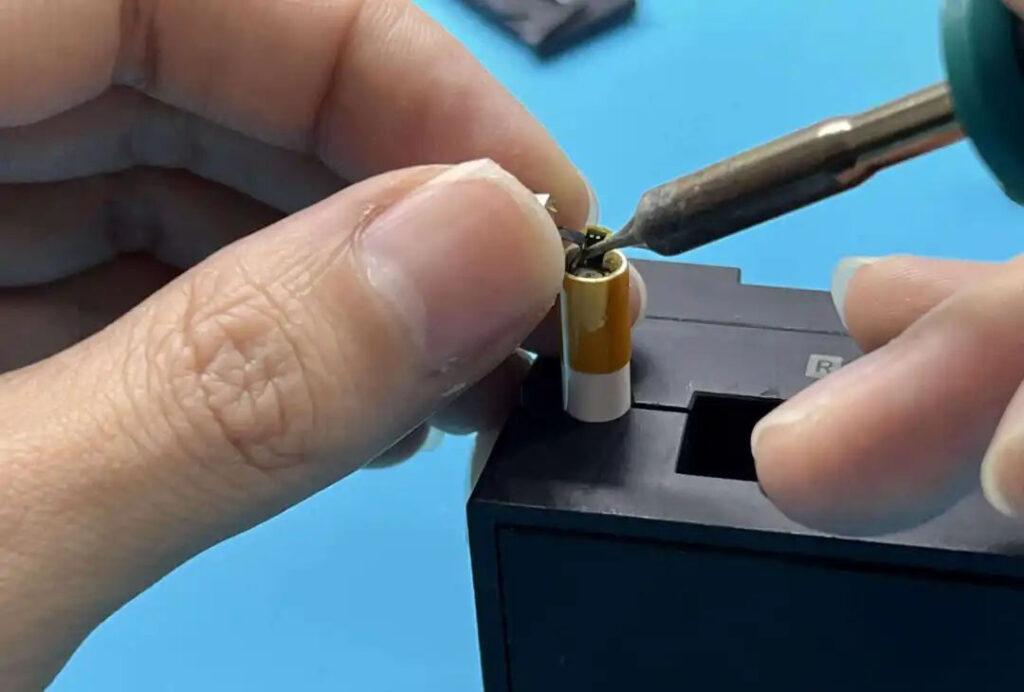
Spot the flux and remove the battery positive with a soldering iron.
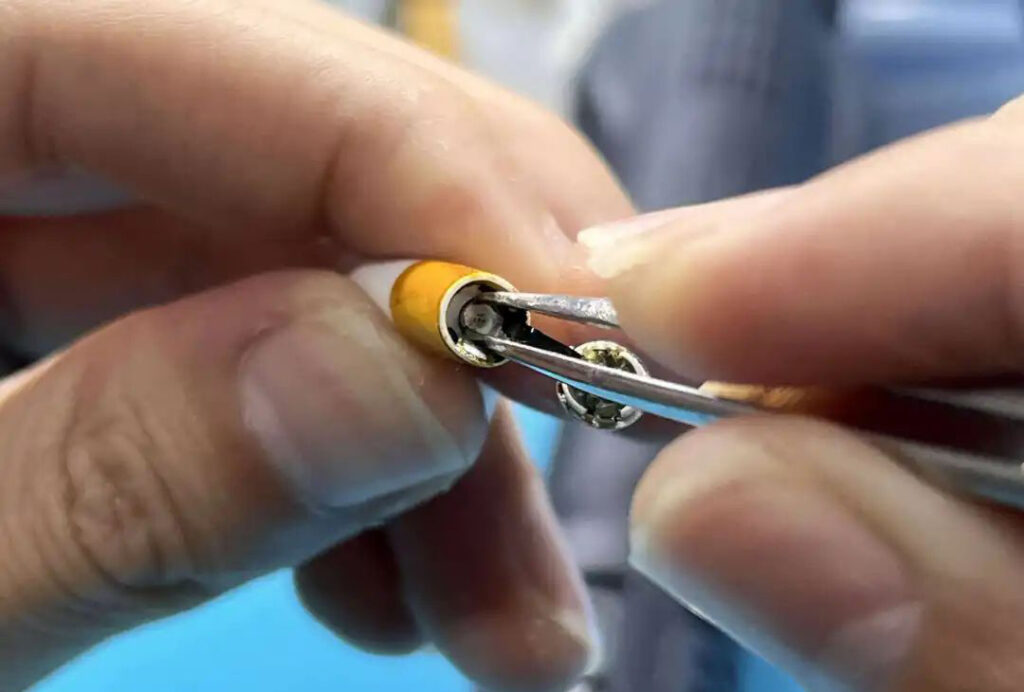
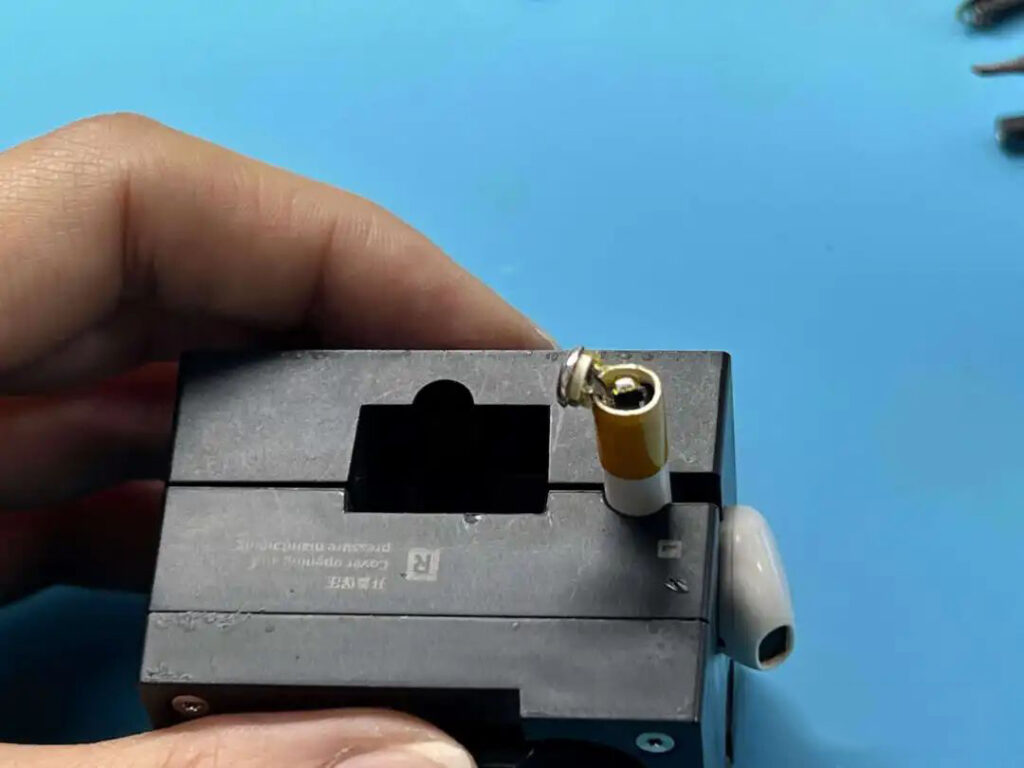
Schematic diagram of the operation of taking out the battery.
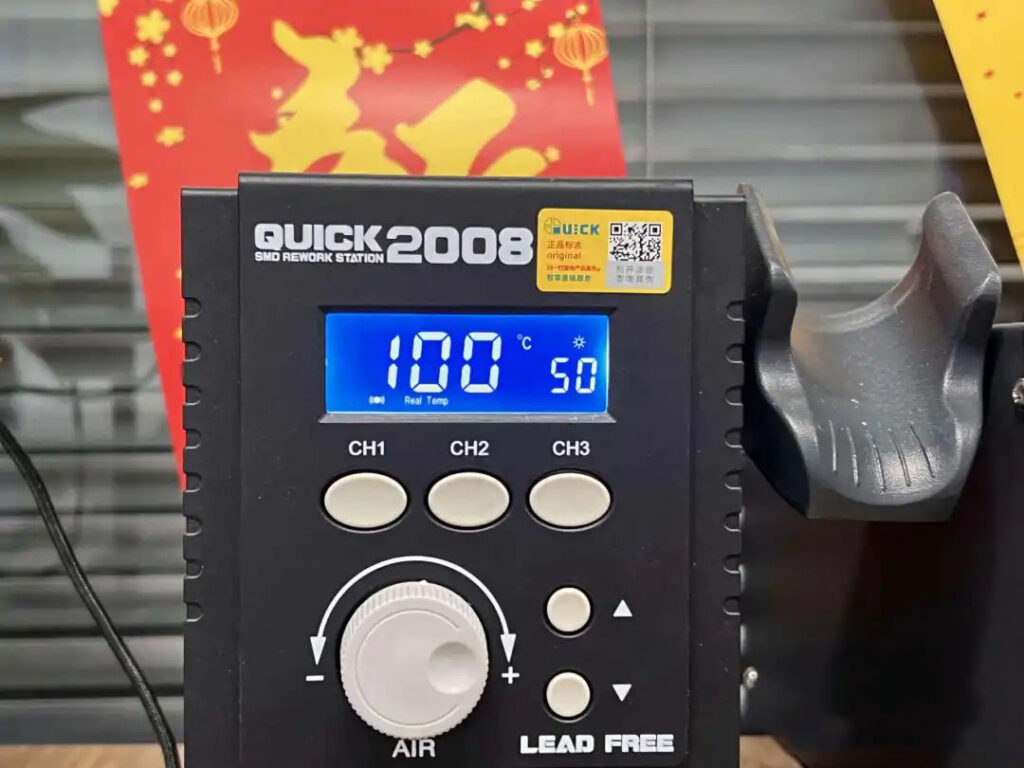
List of hot air gun parameters, the temperature is 100 ℃.
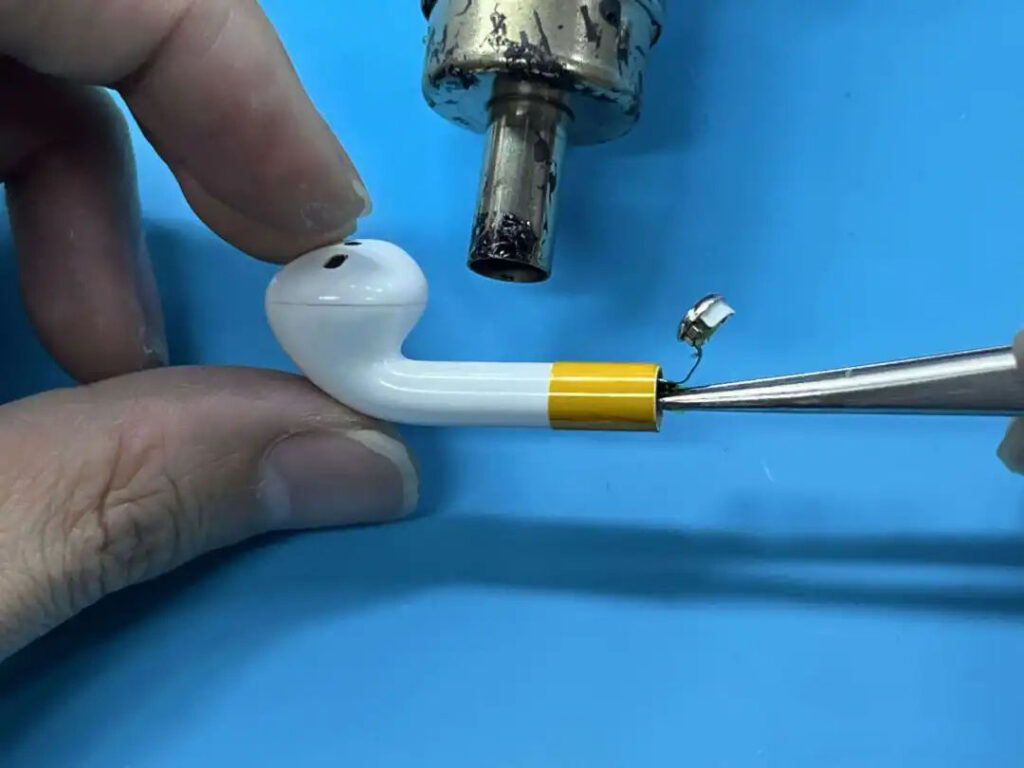
Use a hot air gun to heat the earphone handle, soften the inside of the earphone handle, and easily remove the battery of the earphone. The temperature of the heat gun is 100 degrees, and the heating time is about 8s.
When removing the battery, the position of the heat gun blowing heat should change with the position of the battery.
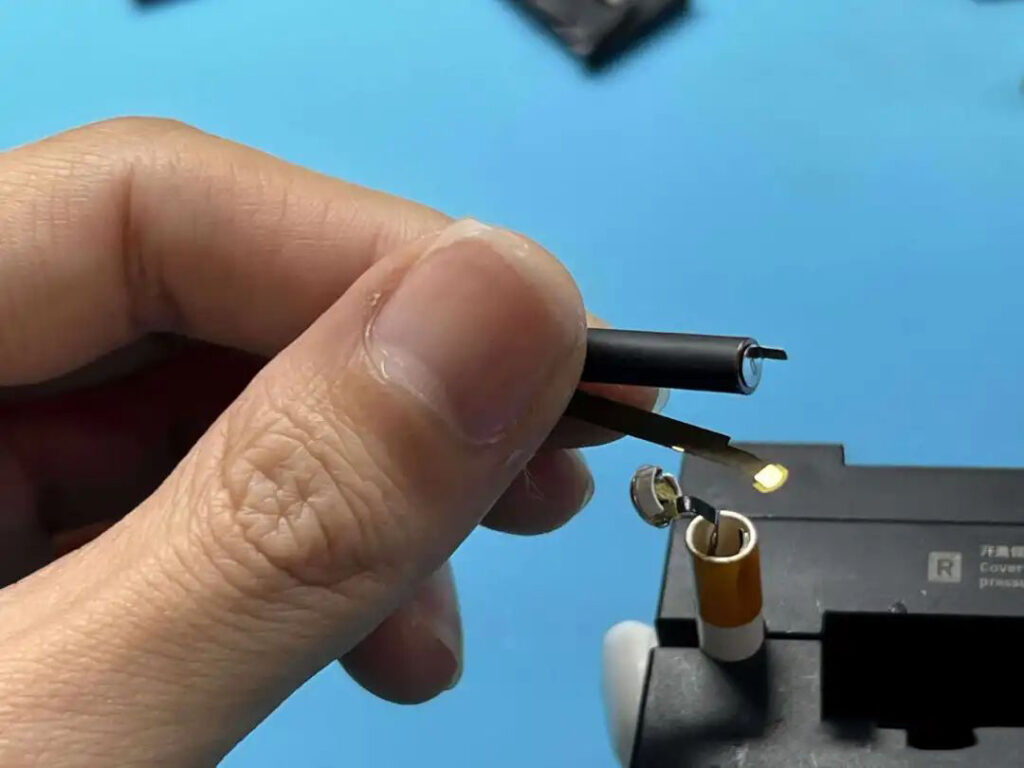
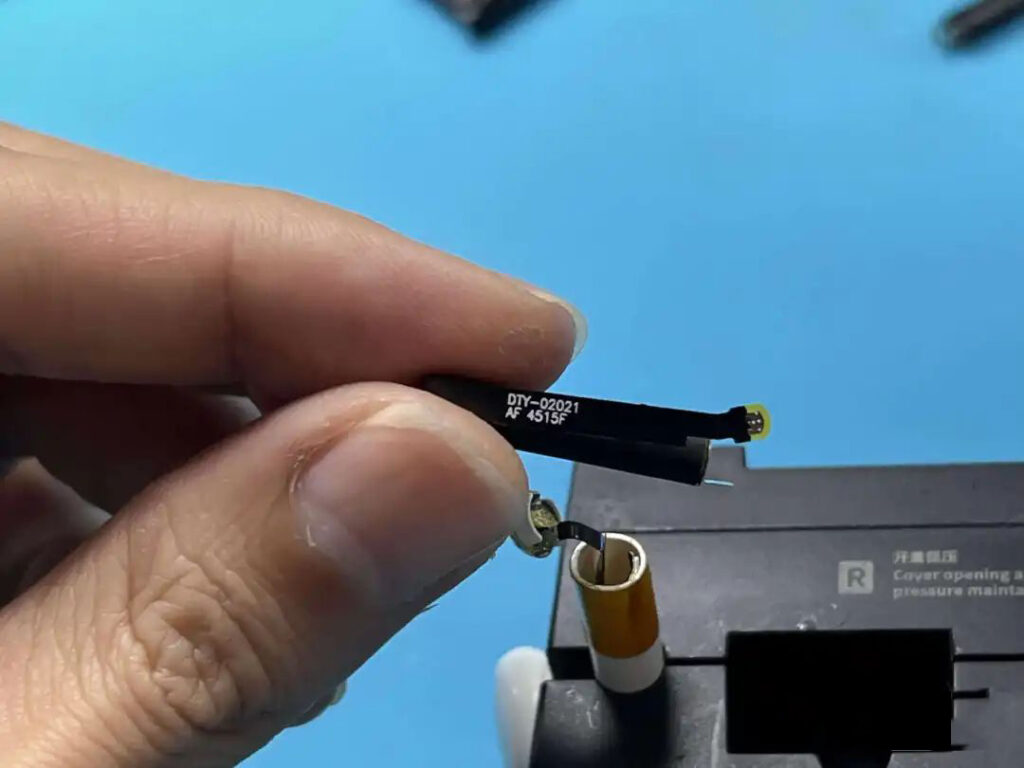
A list of replacement earphone batteries, with a foreskin from the factory.
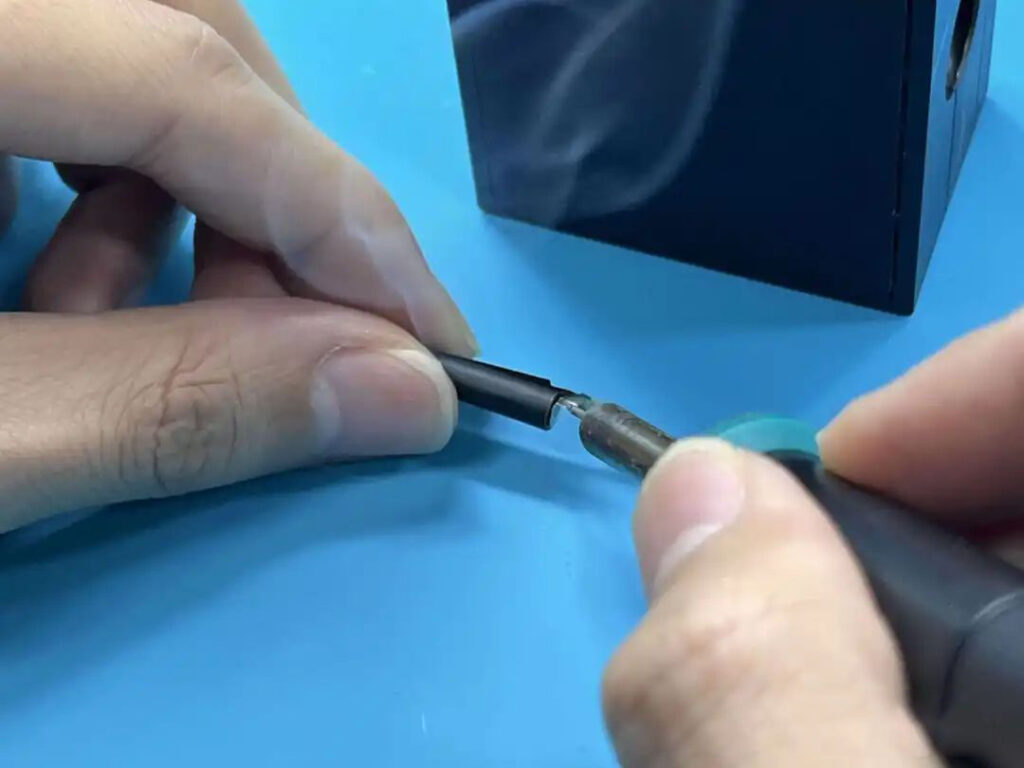
Tin on the battery positive nickel sheet.
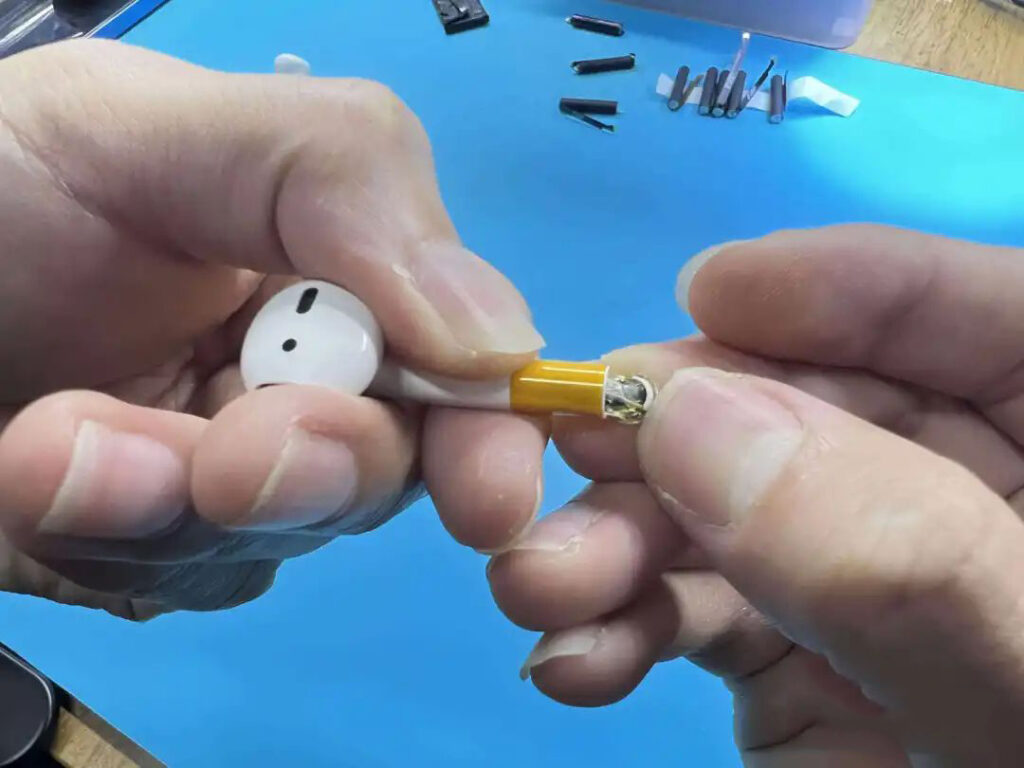
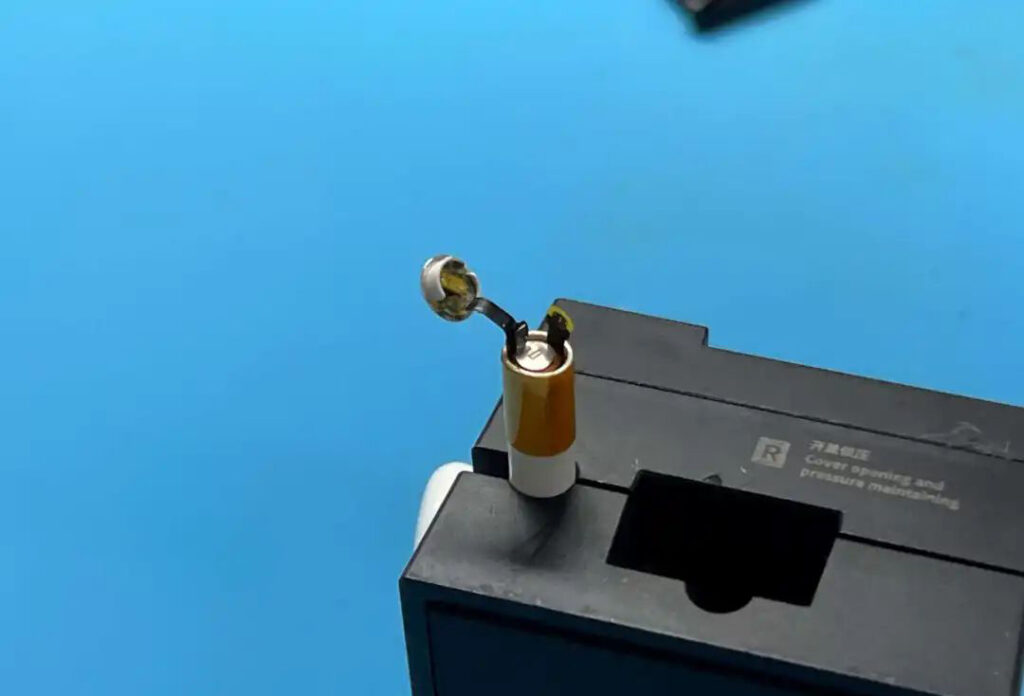
Insert the battery into the stem of the headset.
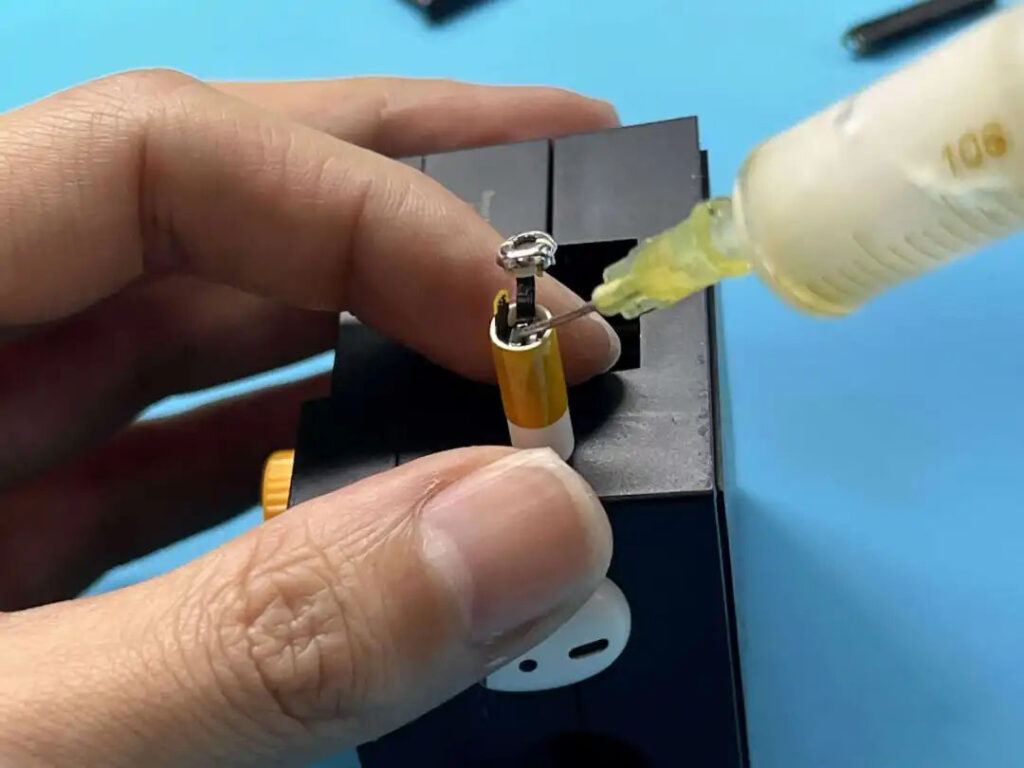
Use a syringe to spot the flux.
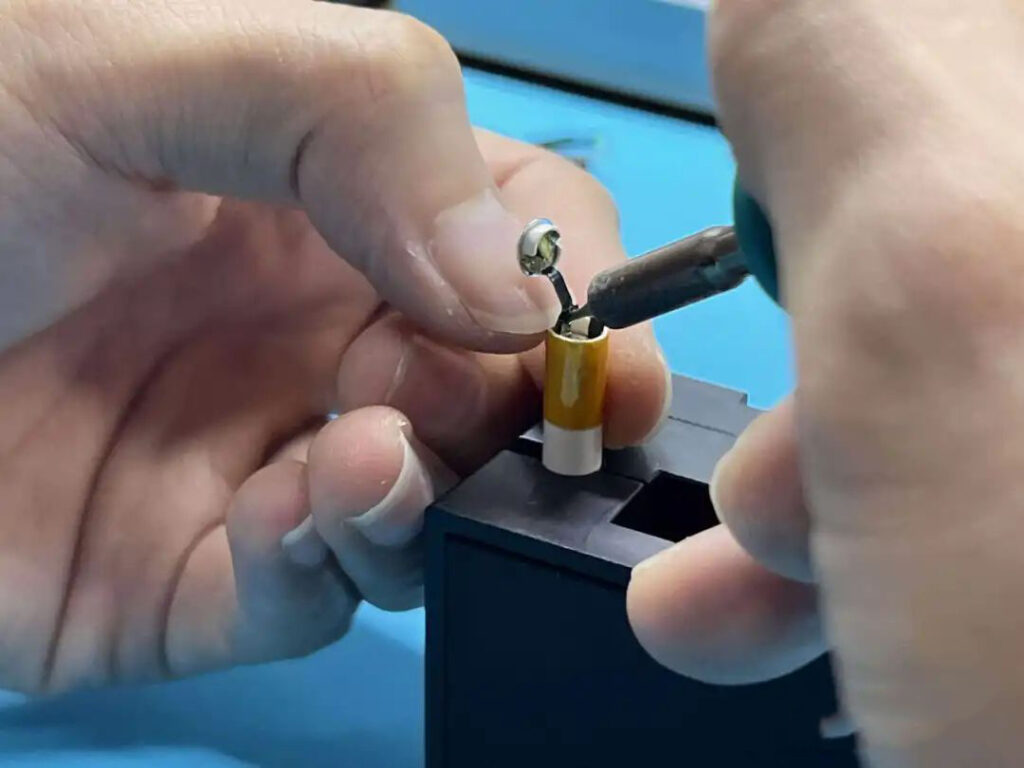
Solder the positive pole of the battery. Here, you need to use a fingernail or other object against the cable to prevent contact between the soldering iron and the earphone handle, which will cause the earphone handle to be deformed by heat.
Use tweezers to press down the positive shrapnel.
Another point of flux to prepare for soldering the positive electrode.
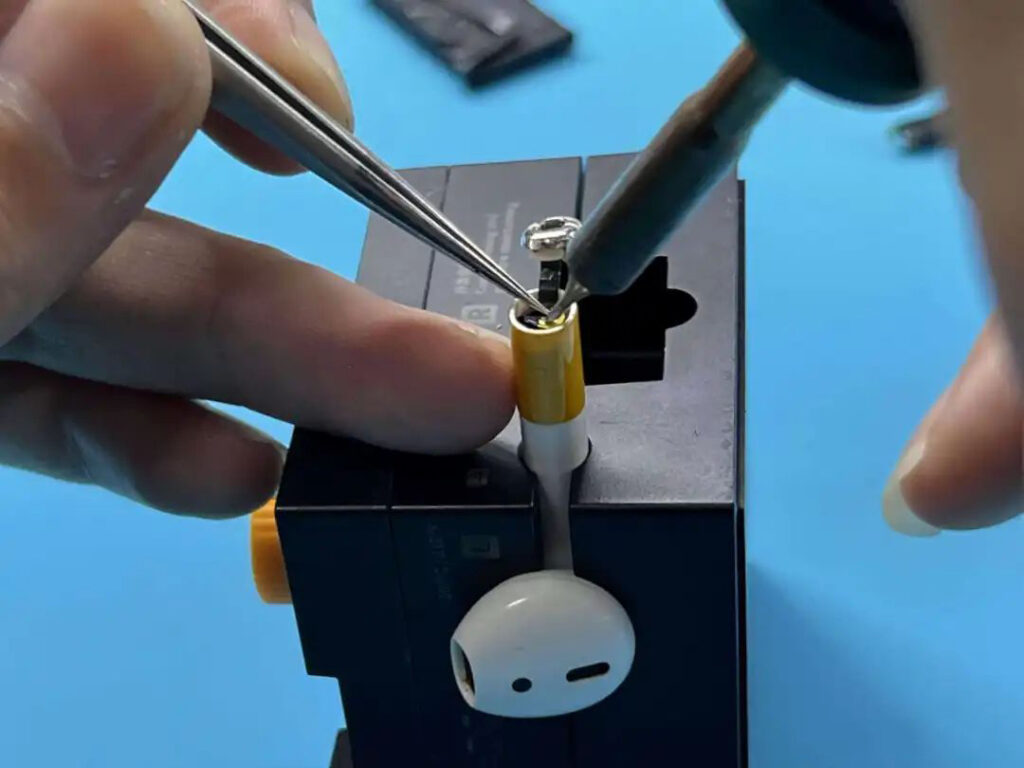
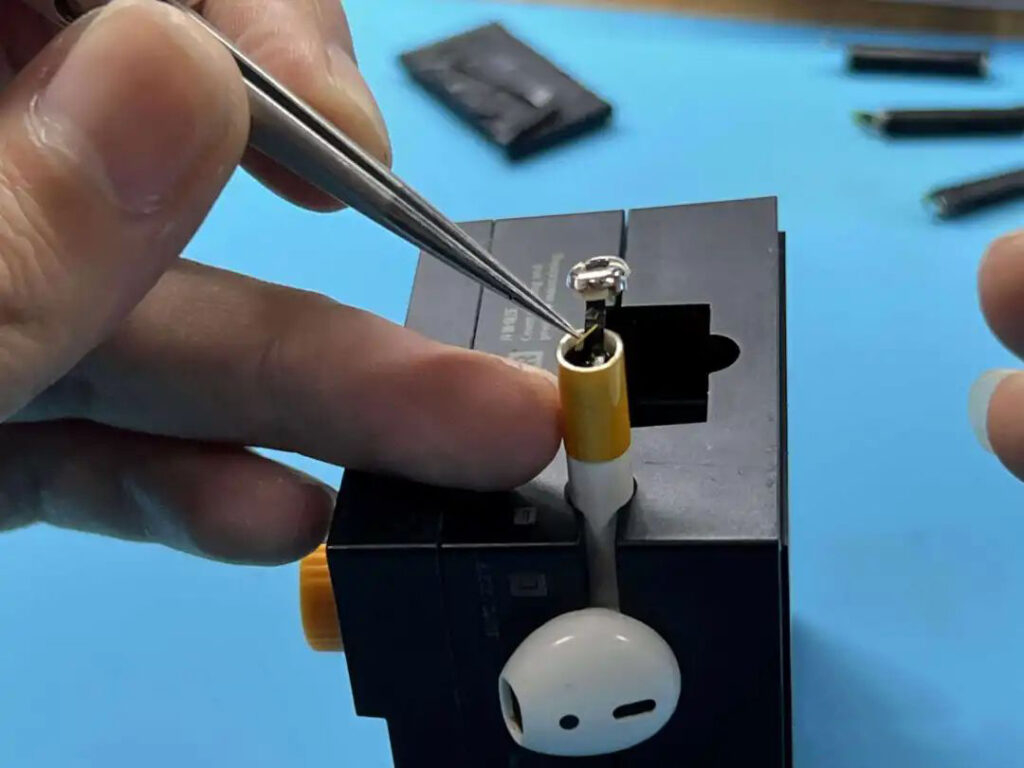
Use tweezers to fix the positive and negative metal sheets, and then use a soldering iron to weld the positive and negative electrodes of the headphone battery.
First test after battery replacement
After the positive and negative electrodes of the battery are welded, the headphone function test is carried out before packaging.
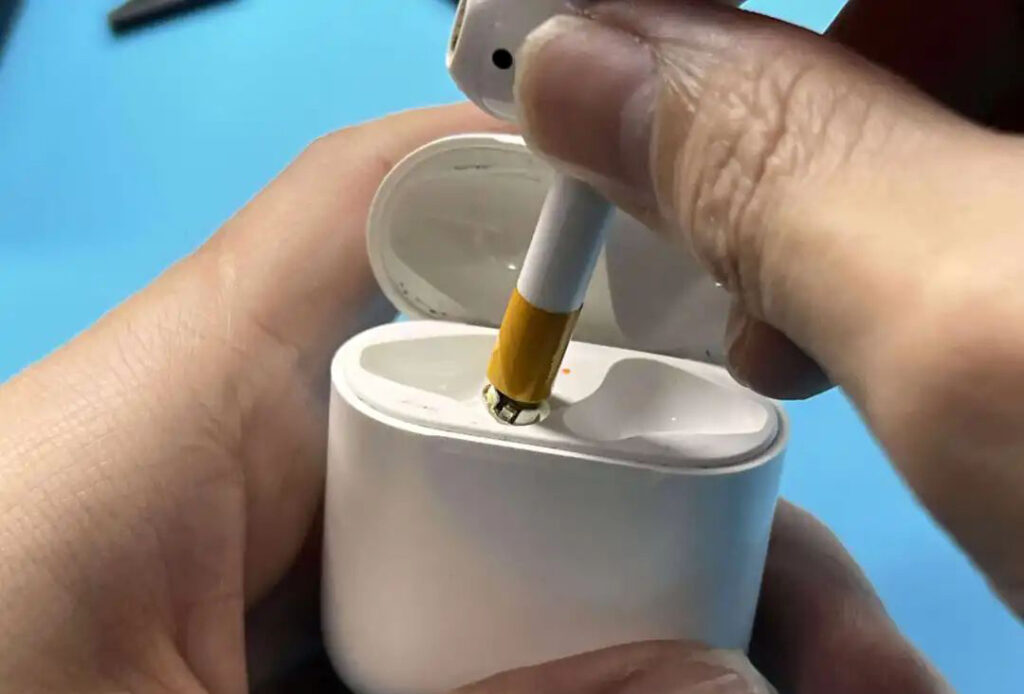
Put the headset back into the battery compartment.
Open the battery compartment of the headset to test the open connection.
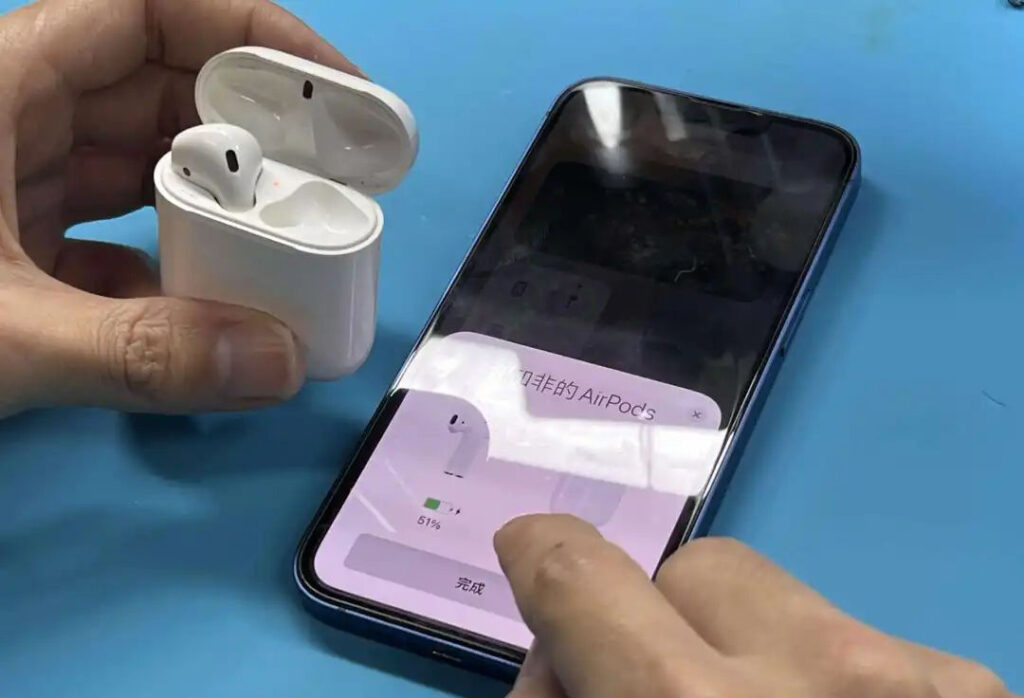
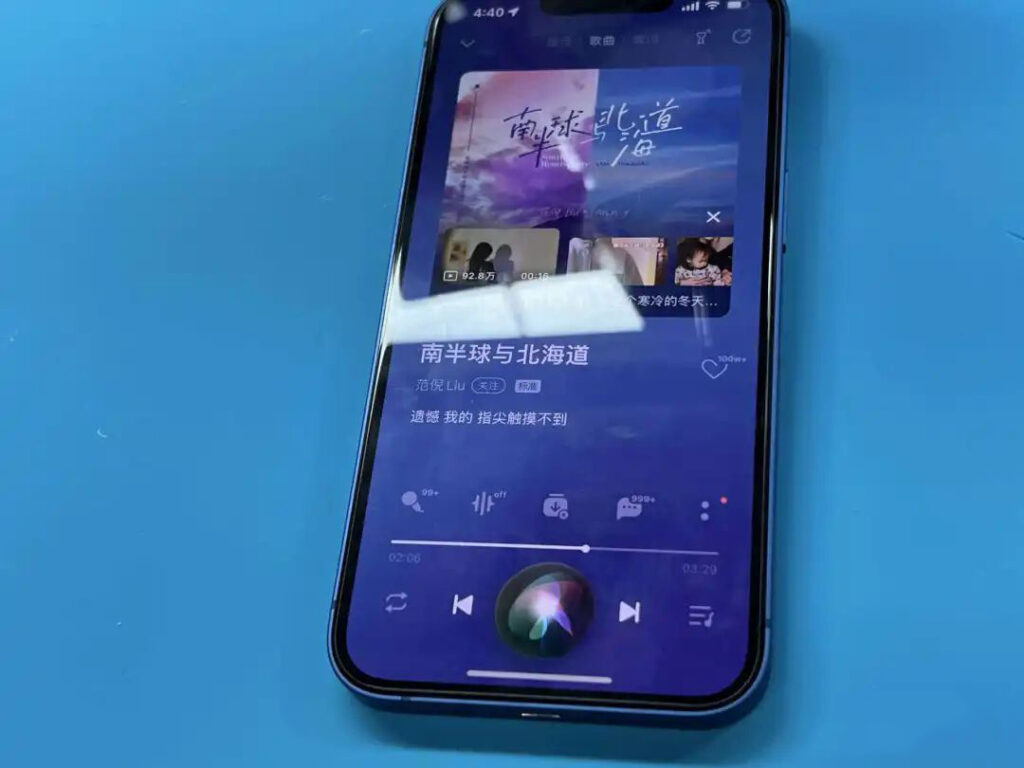
The headset is opened and connected successfully, the remaining 51% of the battery power shows that it is charging, and the battery power information is displayed correctly.
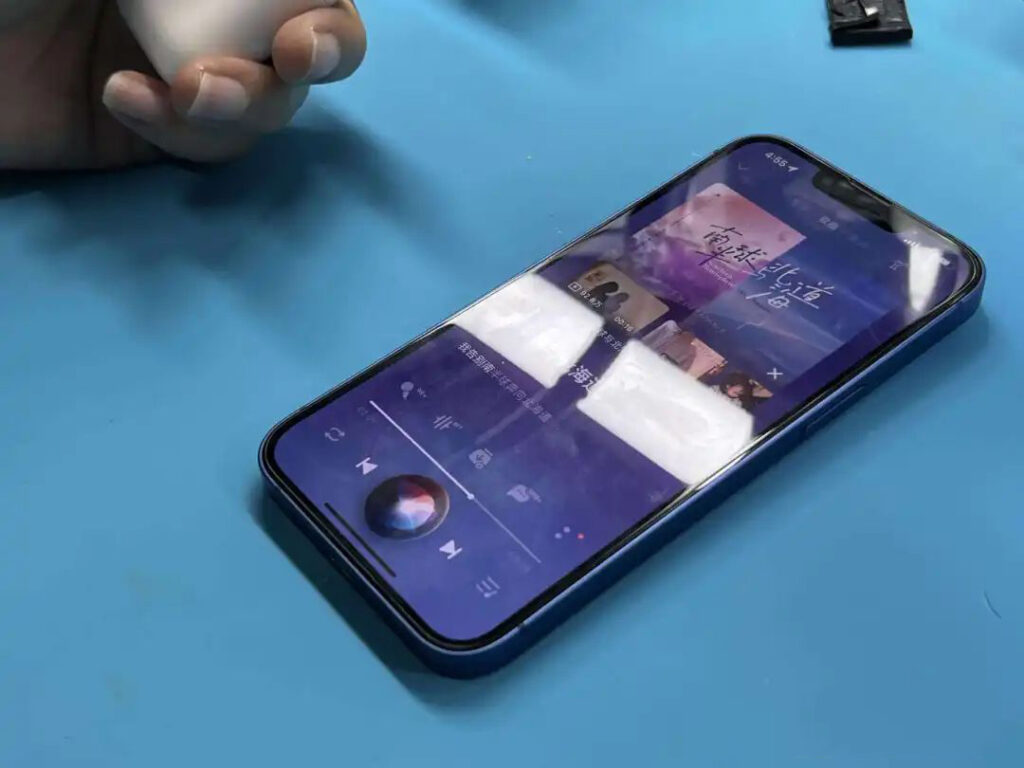
The volume control test of the headset is carried out through the mobile phone.
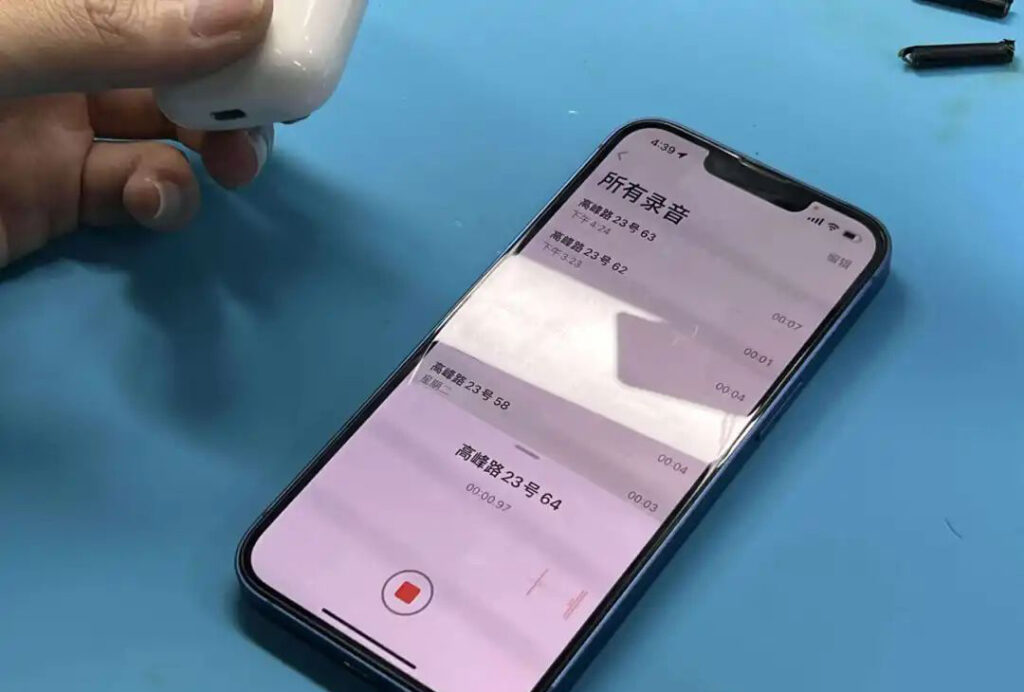
Headphone recording test.
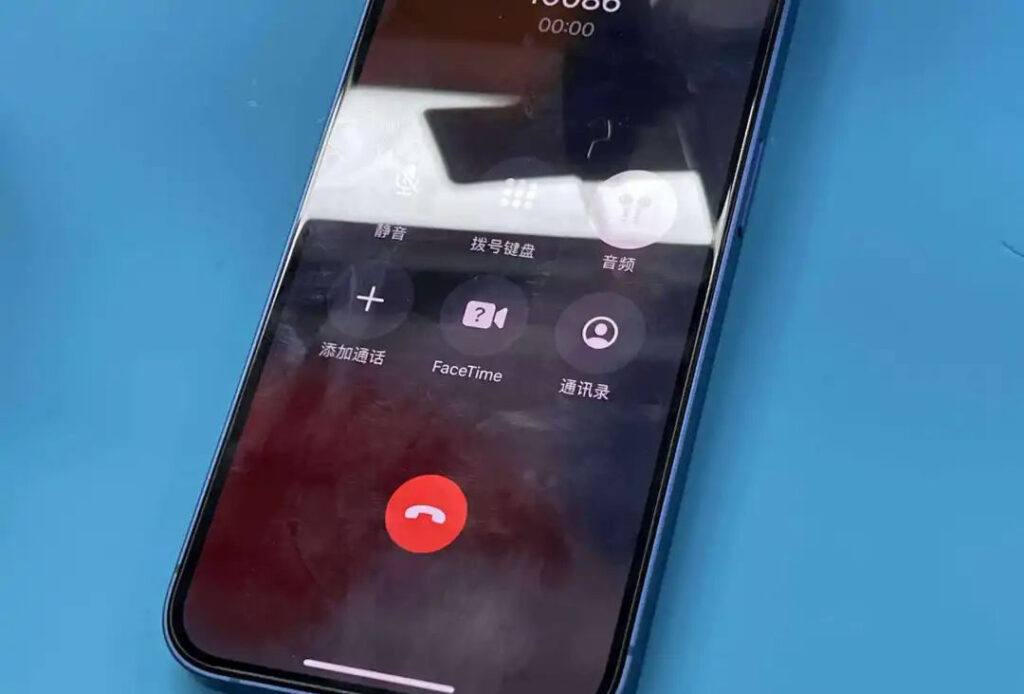
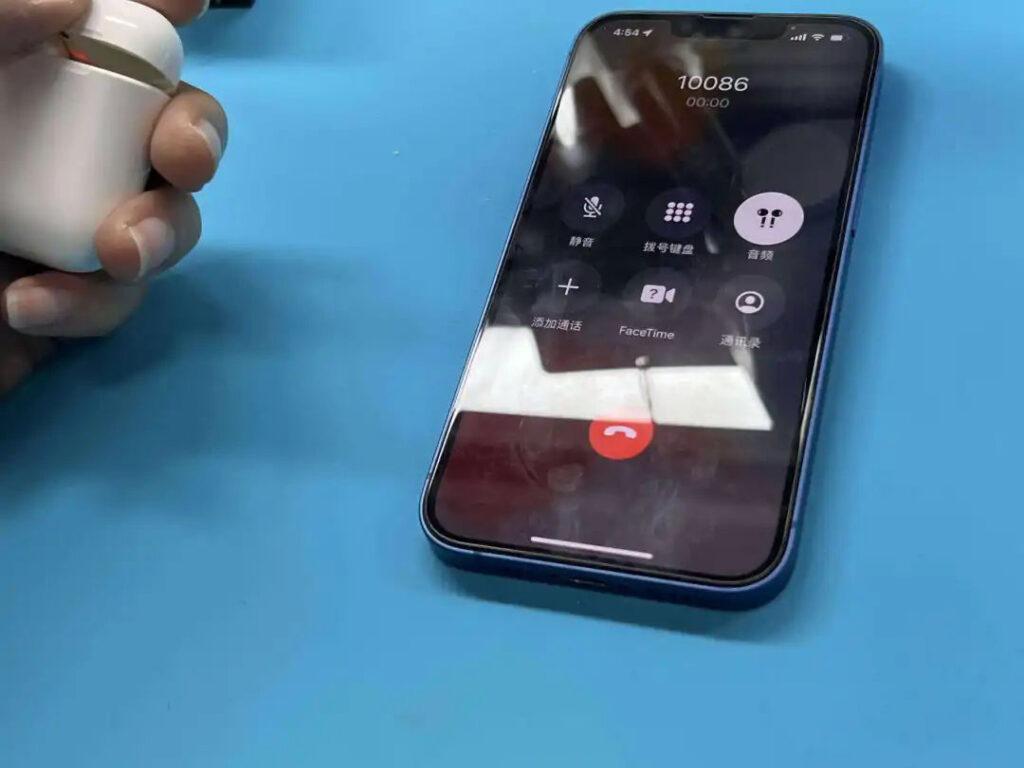
Headphone call volume test.
Headphone listening volume test.
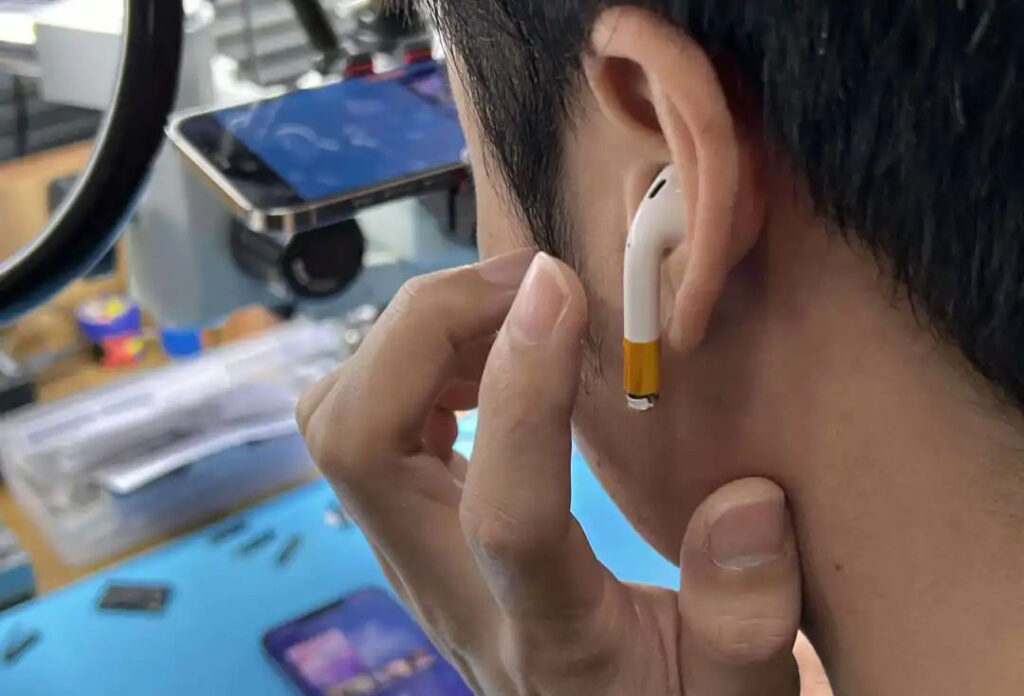
Headphone touch test.
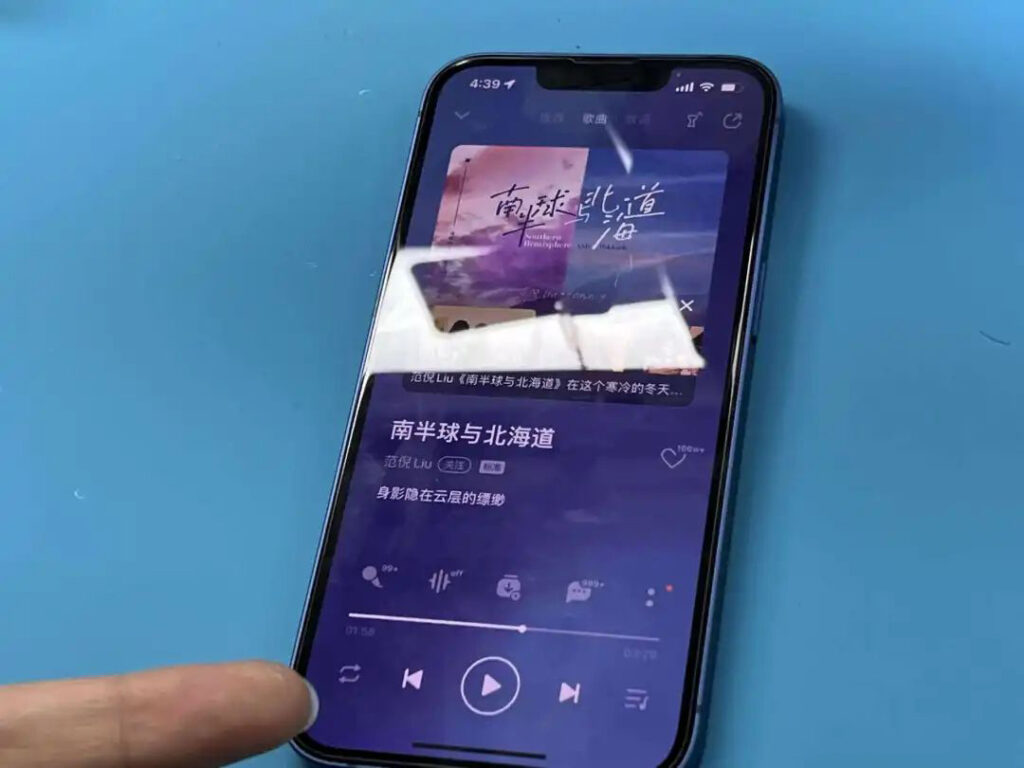
Voice test after calling out the Sir assistant through the headset.

After the above tests are completed, the earphones can be removed for final packaging.
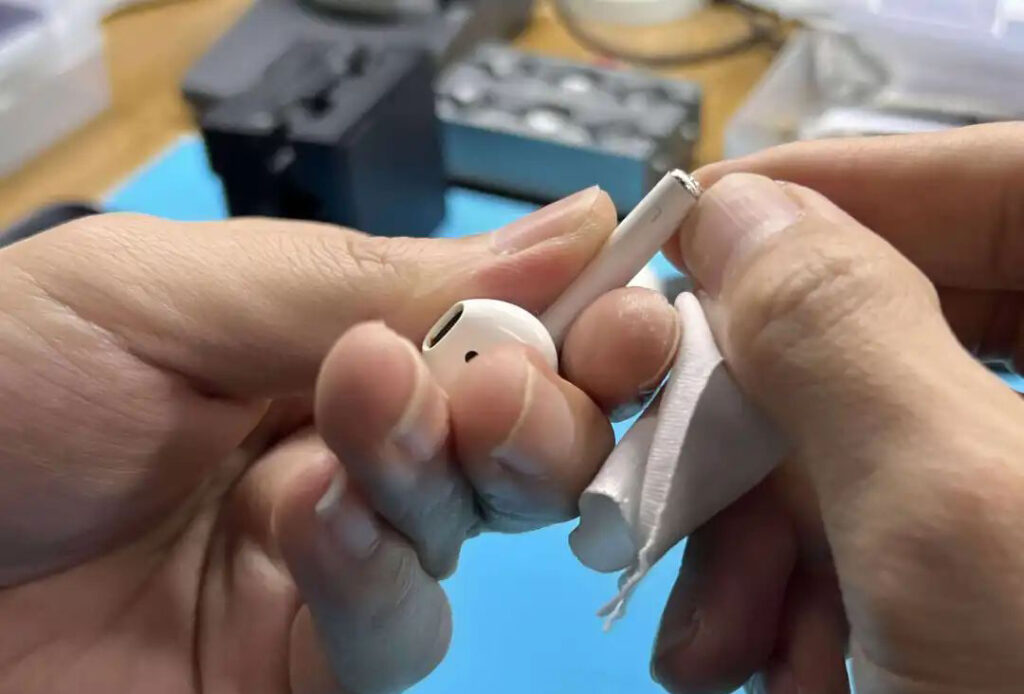
First wipe the inside of the earphone stem with a lint-free cloth to remove debris.
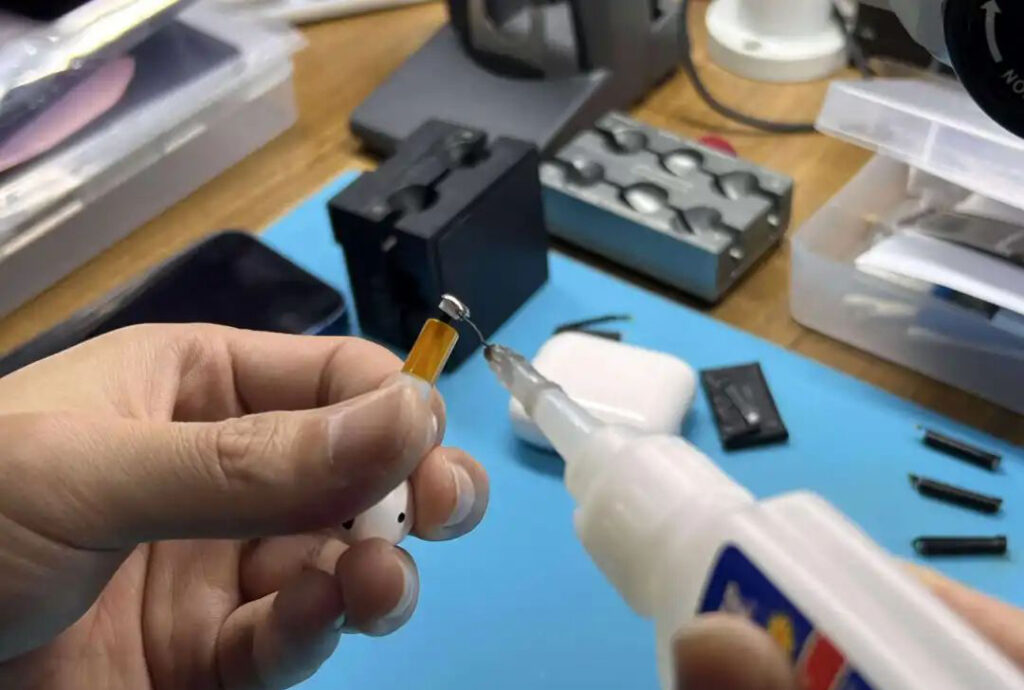
Use glue to seal the bottom of the headphone stem after wiping the debris on the bottom of the headphone stem.
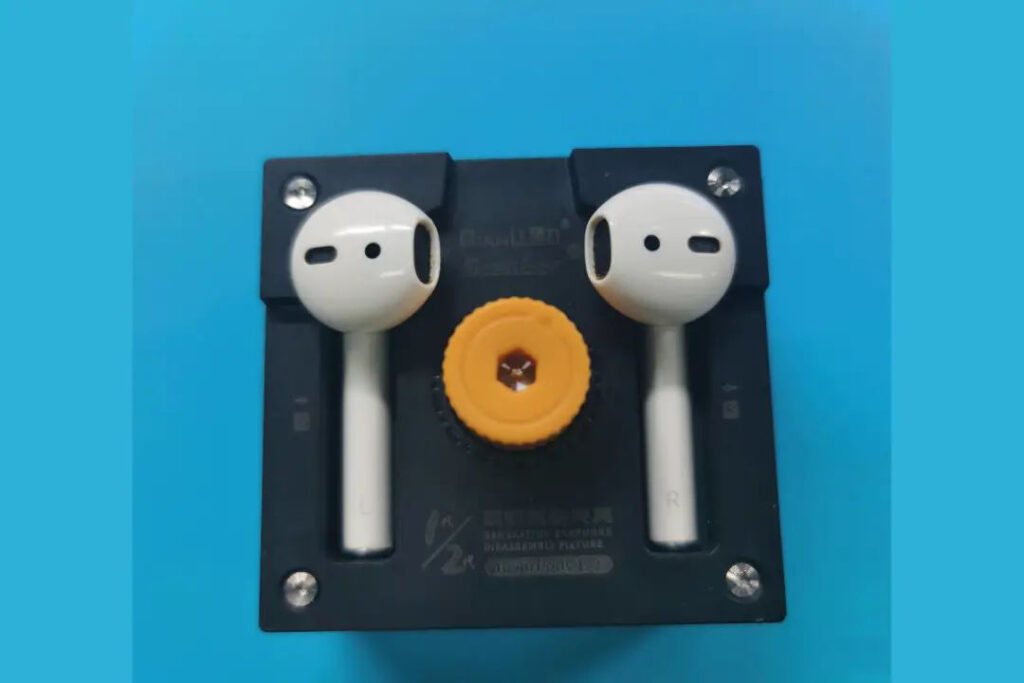
After the glue is applied, put the earphones back into the special fixture to fasten them and wait for the glue to solidify.
After the glue has solidified, remove the previous high-temperature resistant adhesive tape.
After removing the high-temperature adhesive tape, the engineer will clean the bottom of the earphone
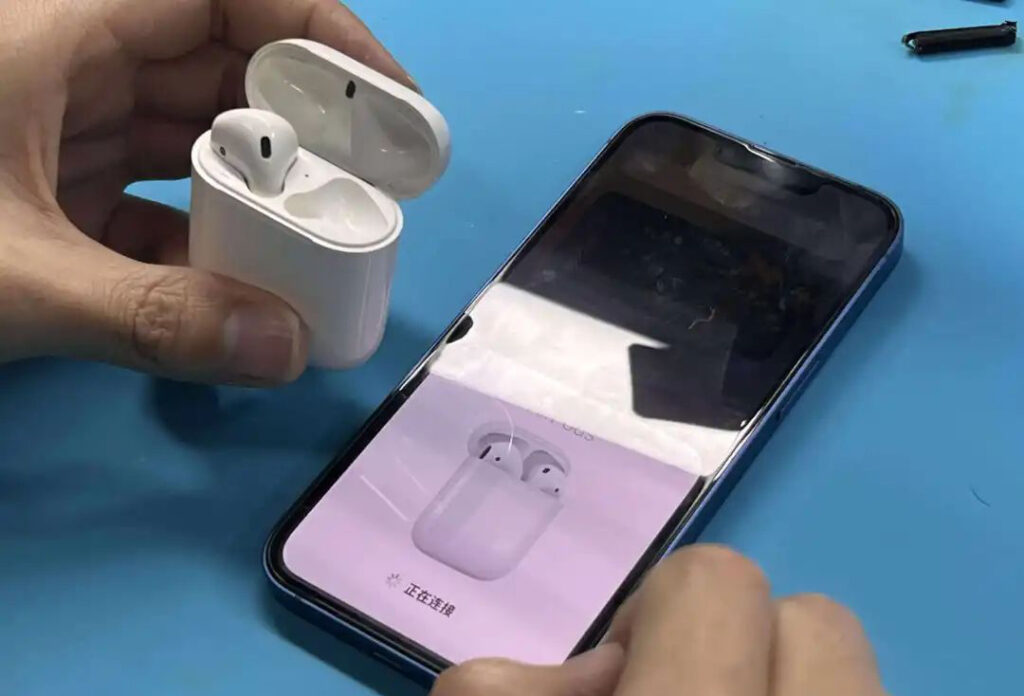
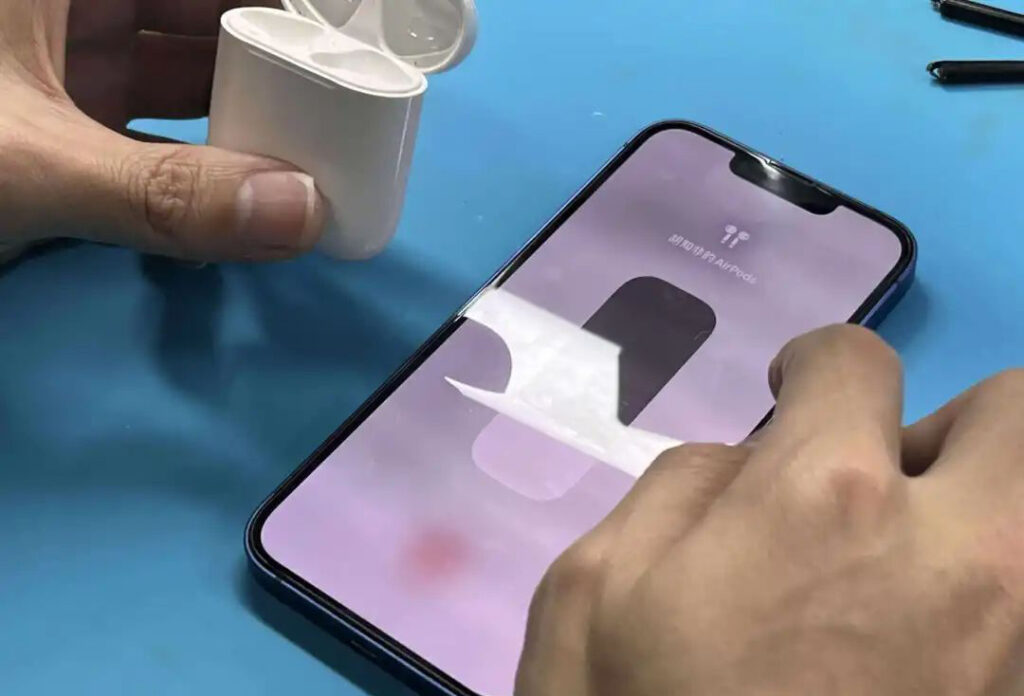
Put the earphones back into the charging case and perform the pop-up test again.
Headphone connection test.
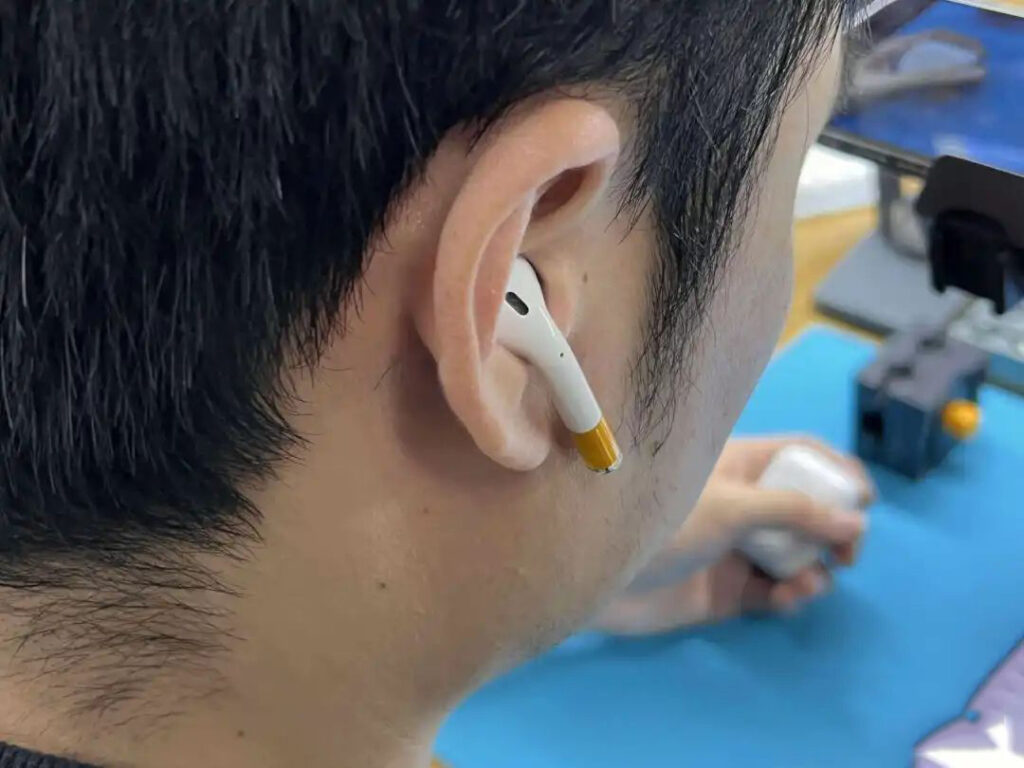
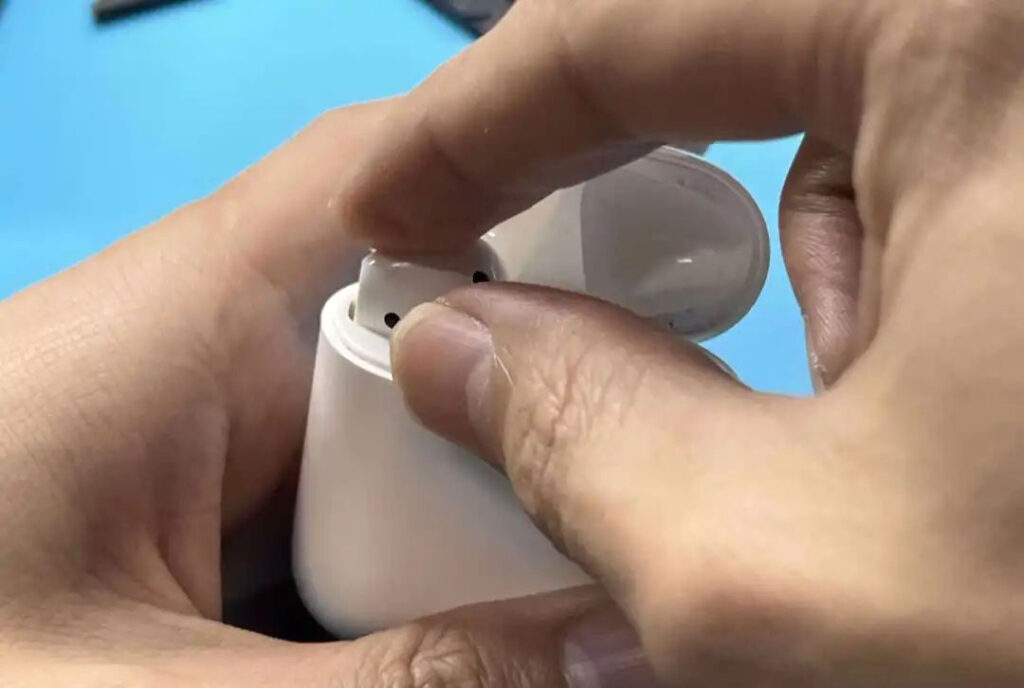
Wear headphones for in-ear detection.
Test whether the microphone pickup function of the headset is normal.
Test the headset call function.
Test the Sir voice assistant function.
Test the headset touch function.
To be continued